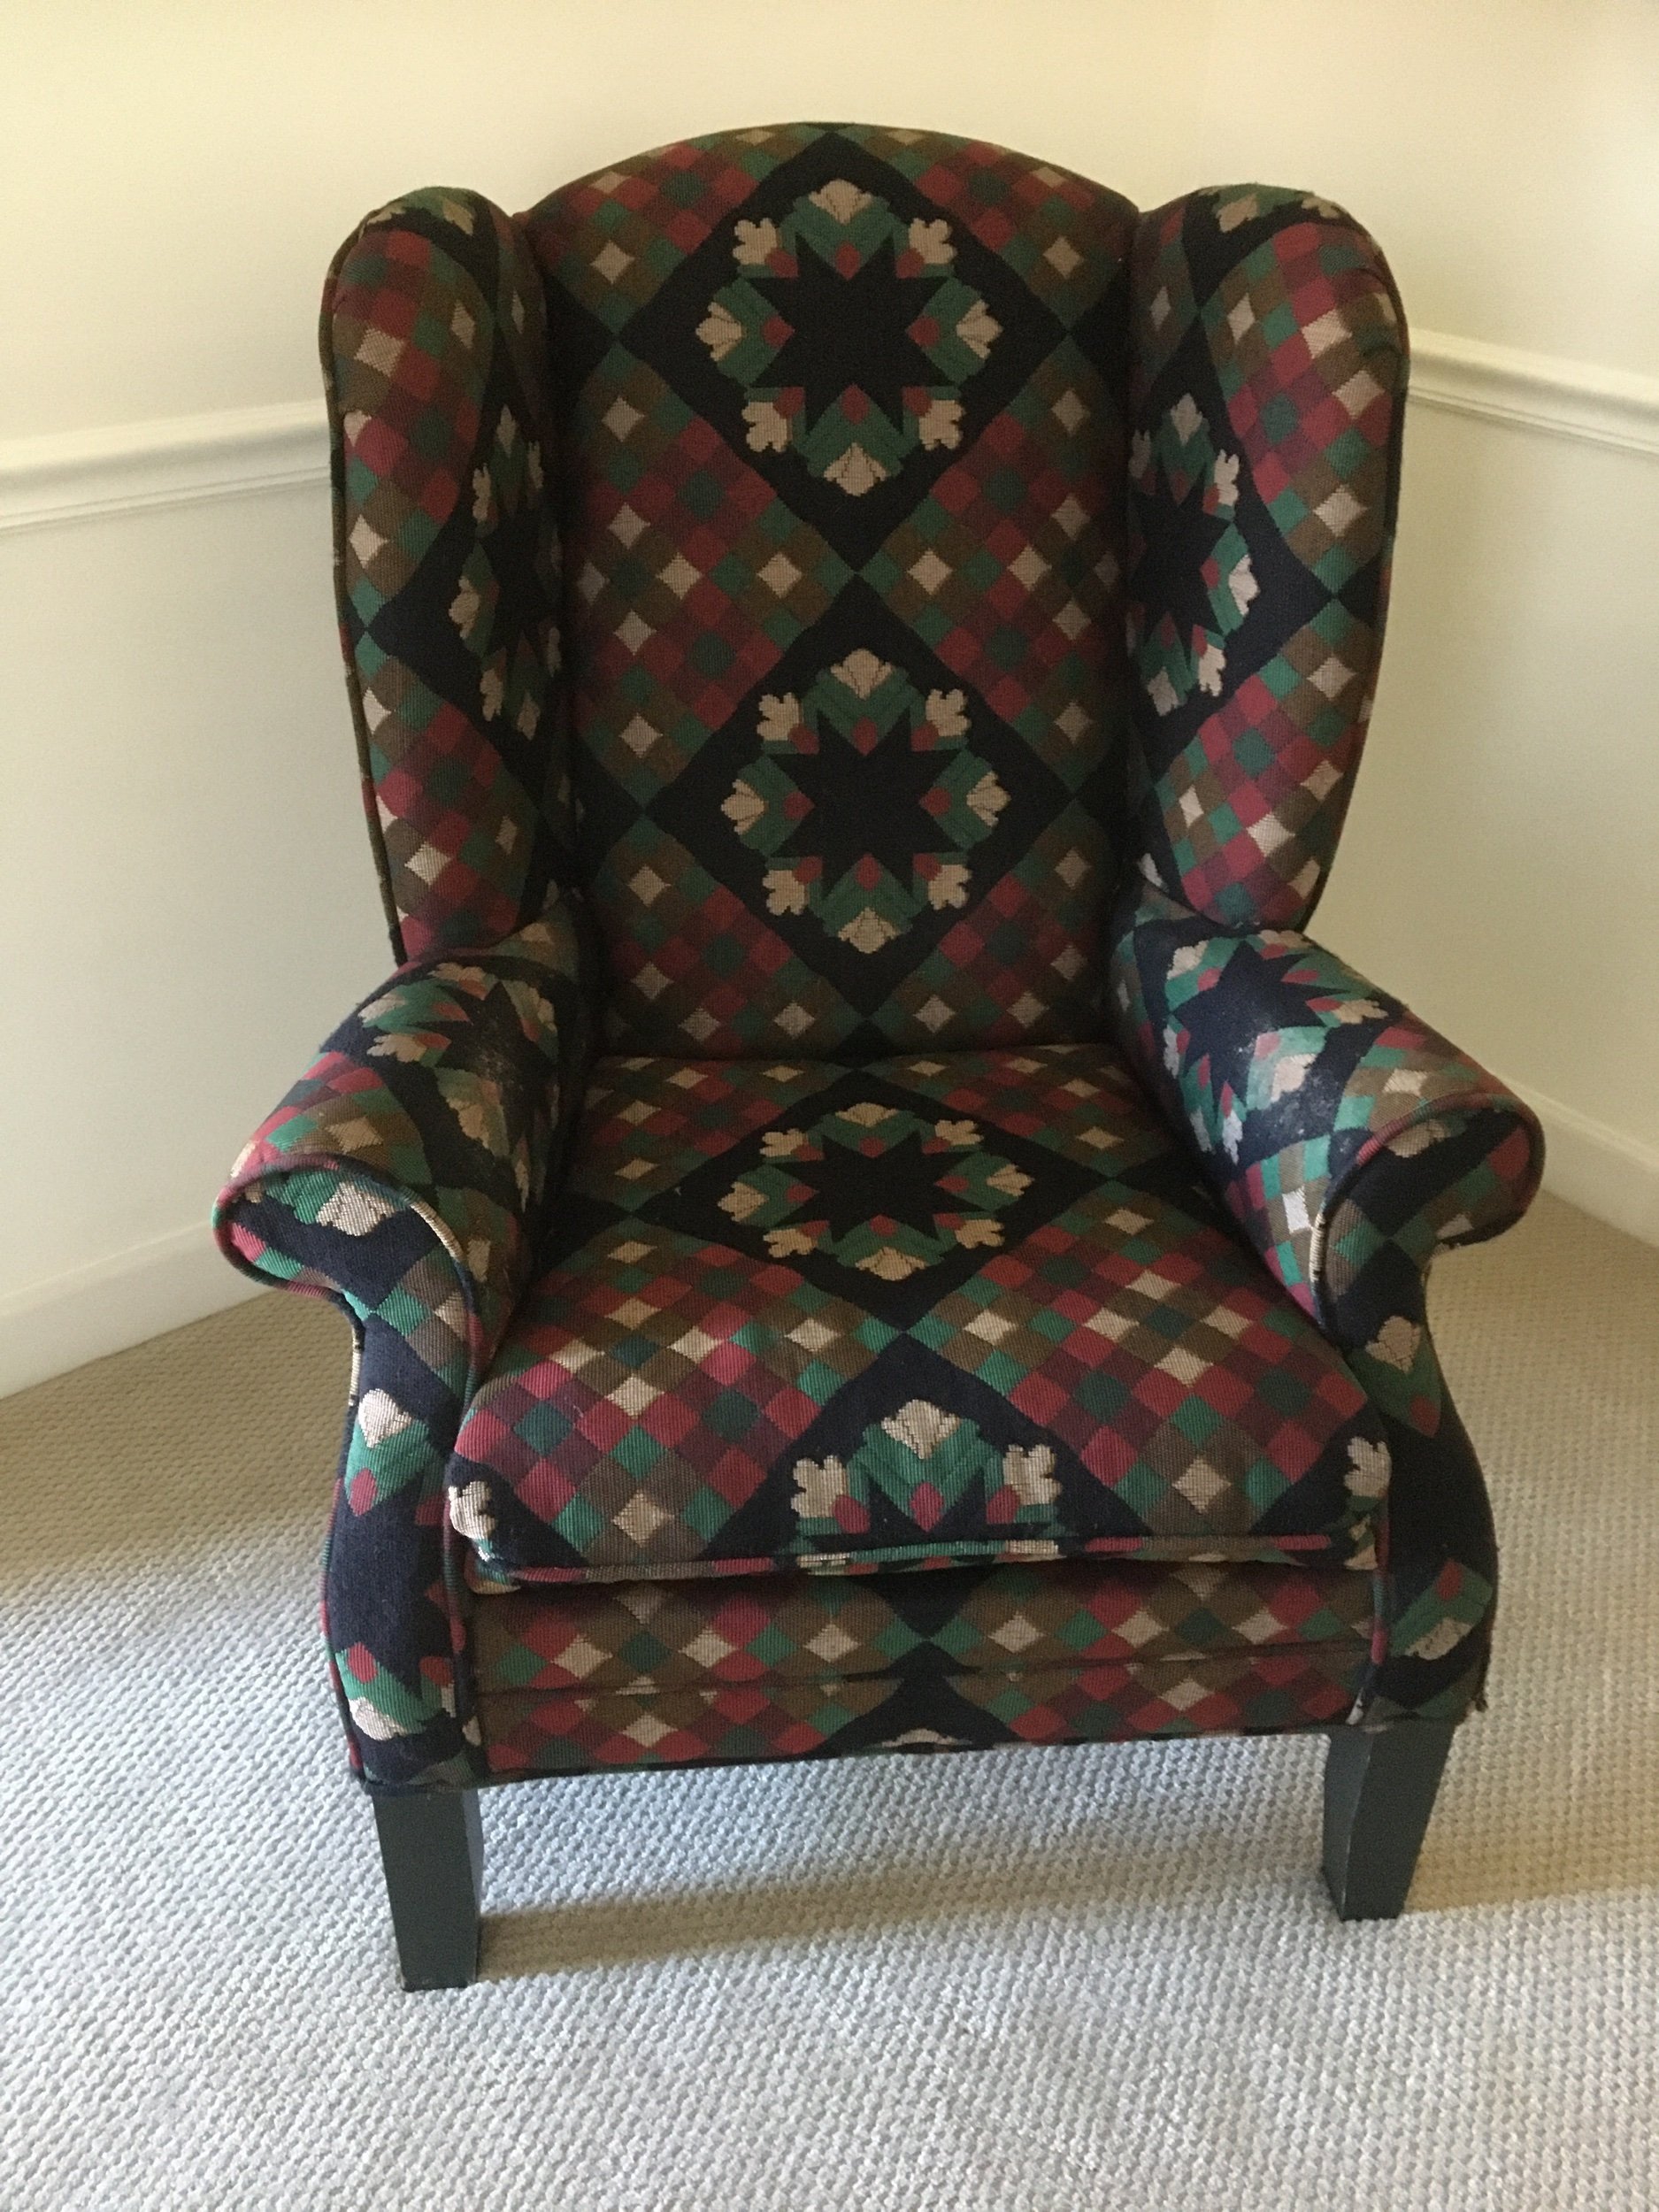
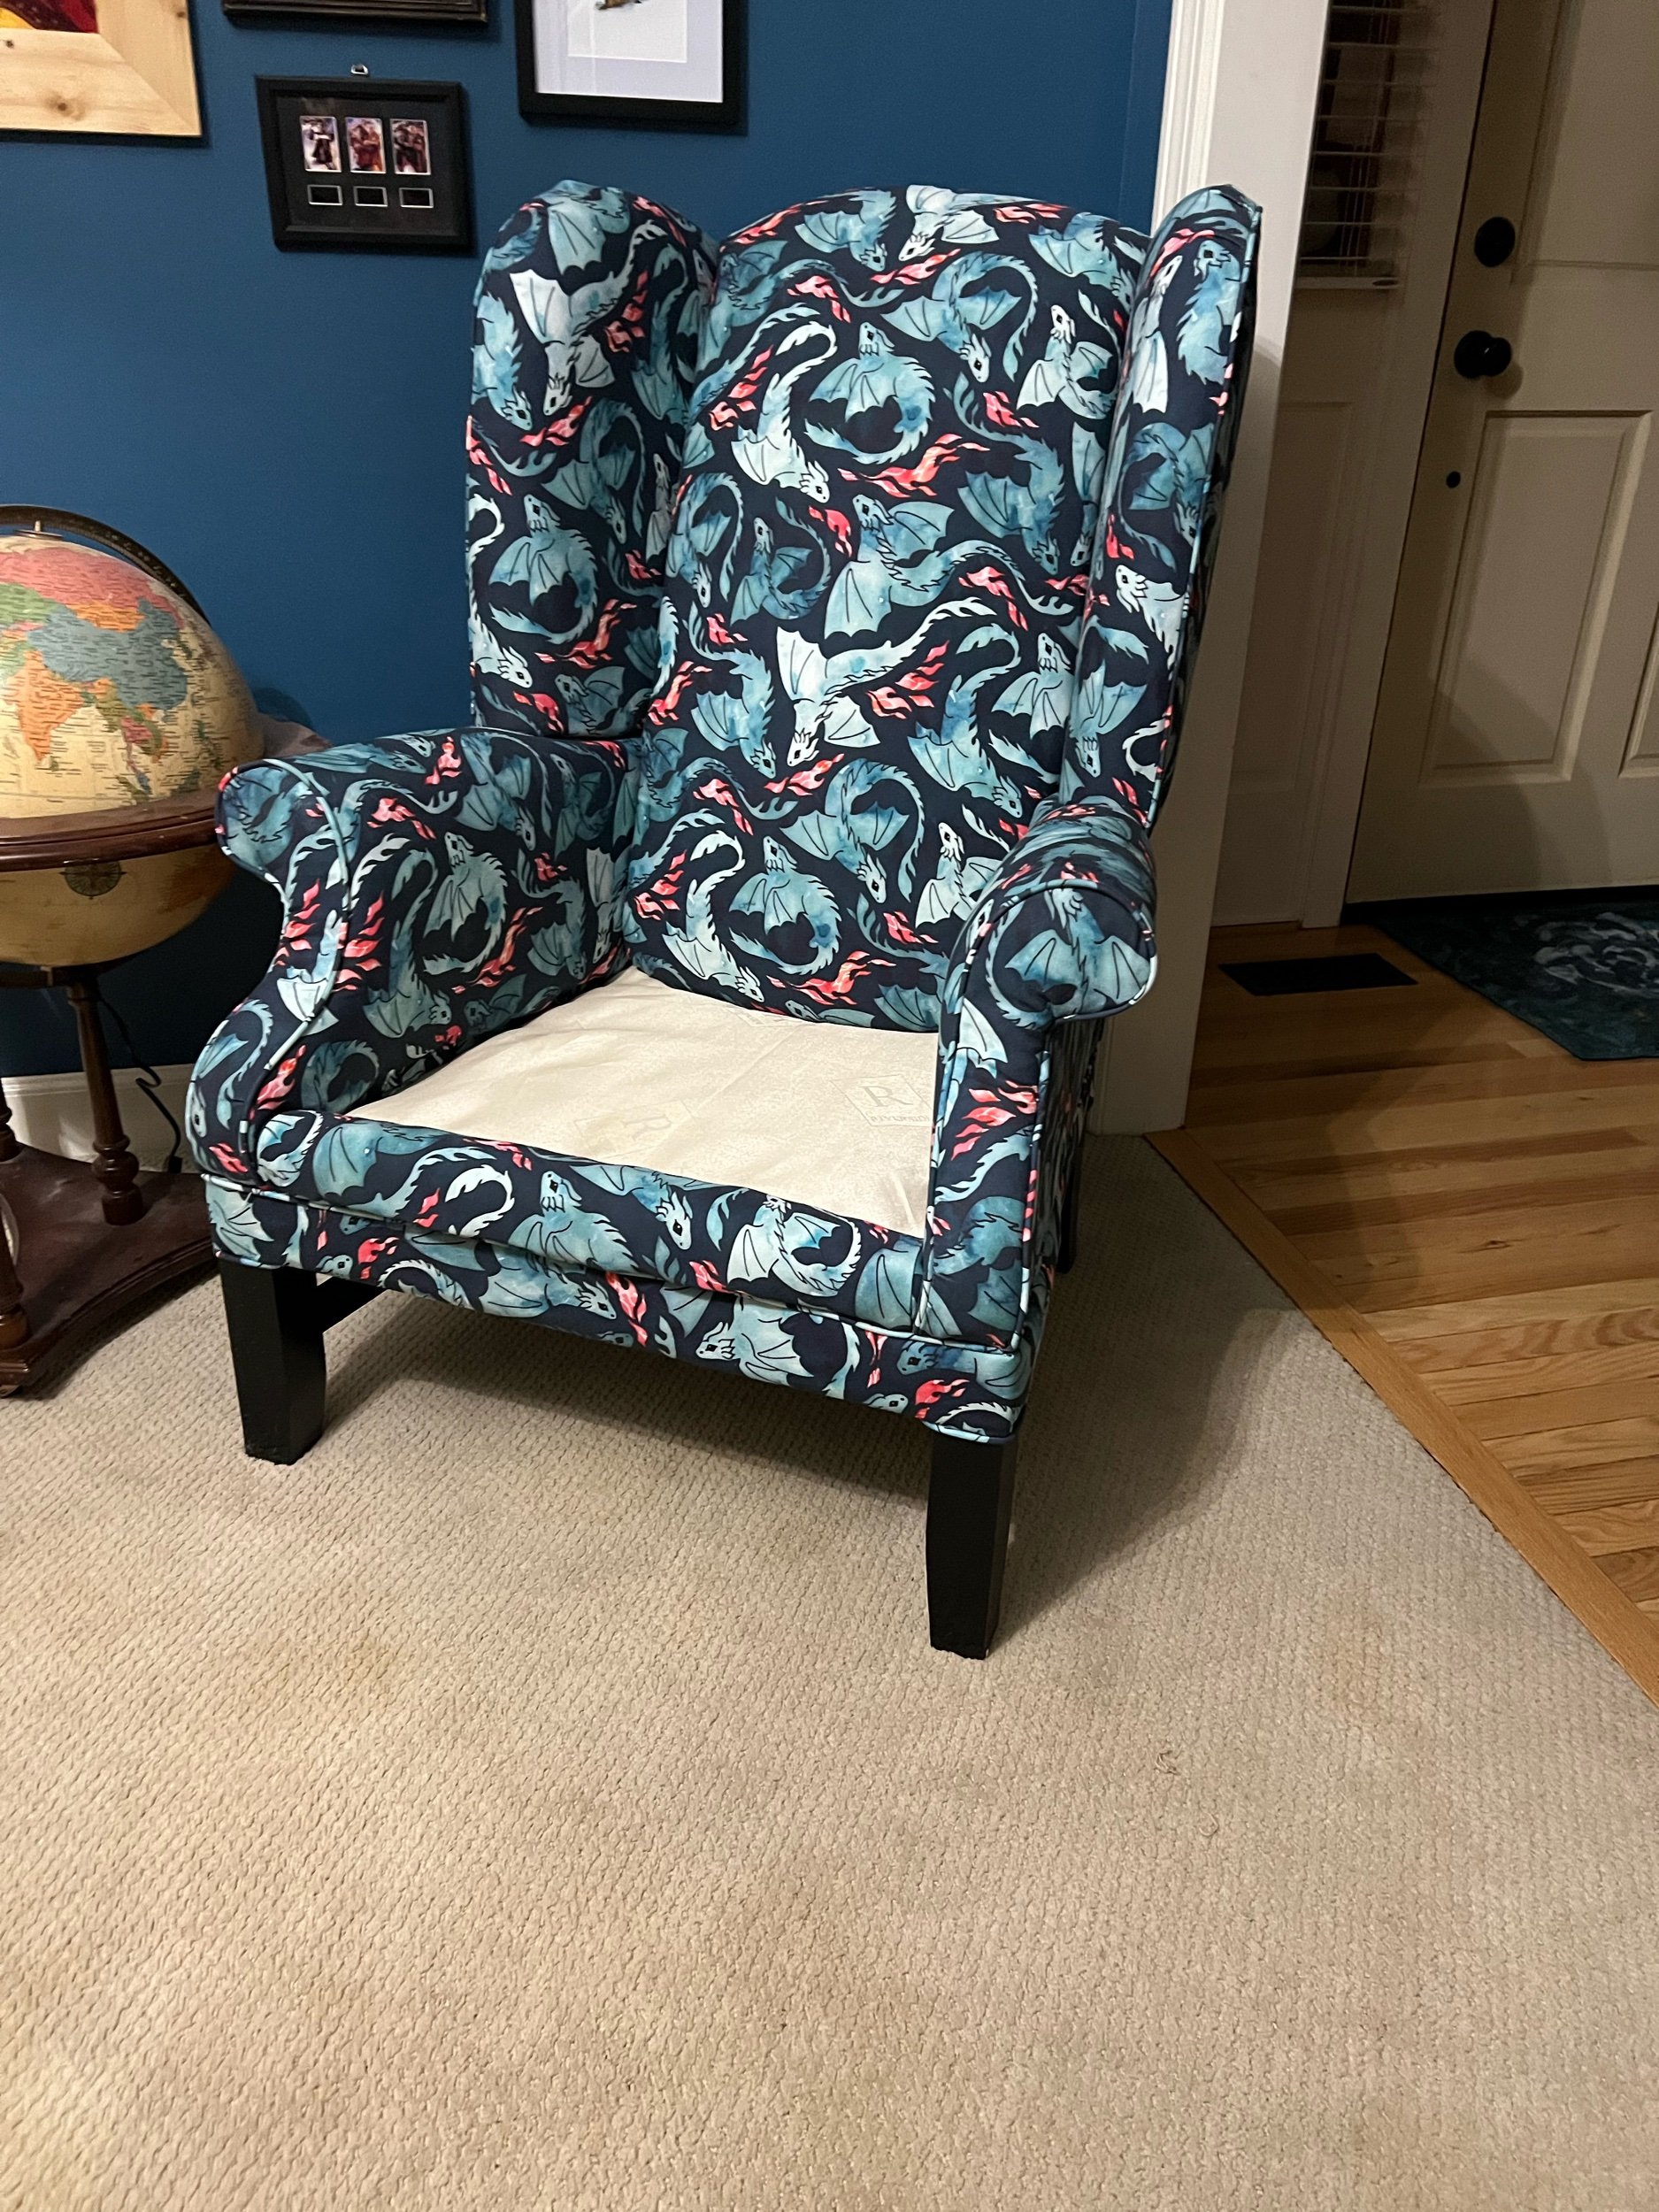
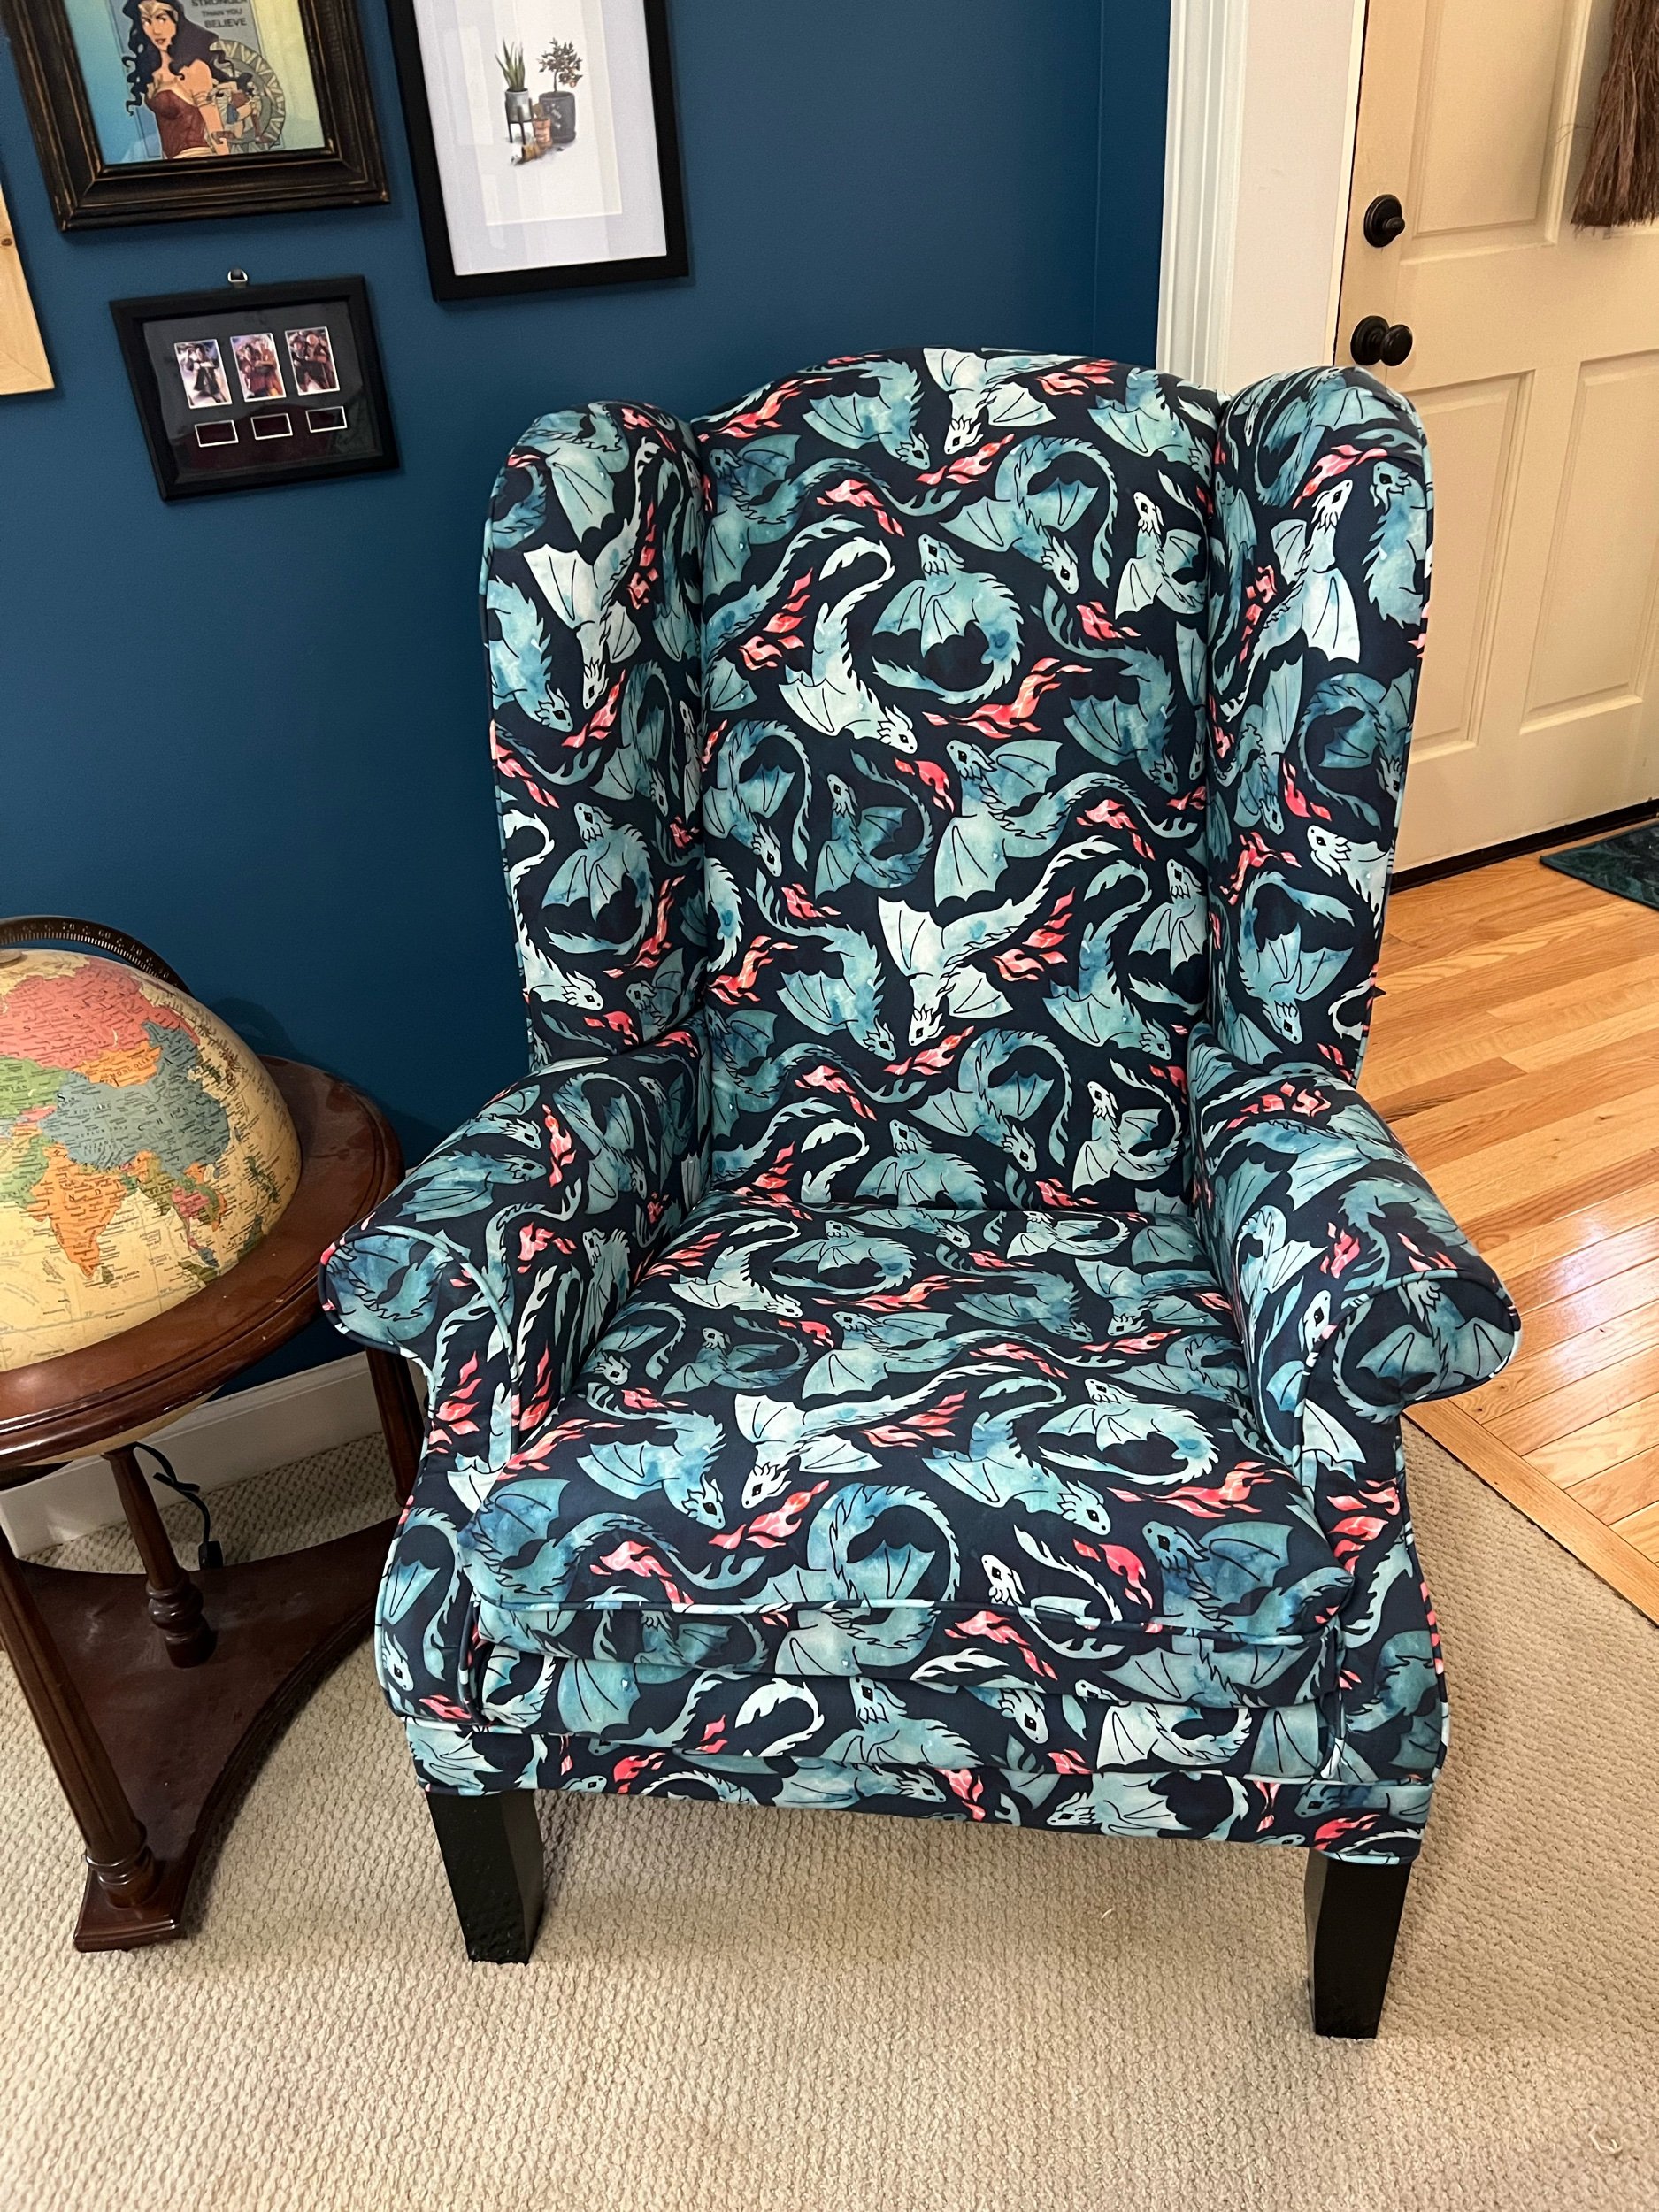
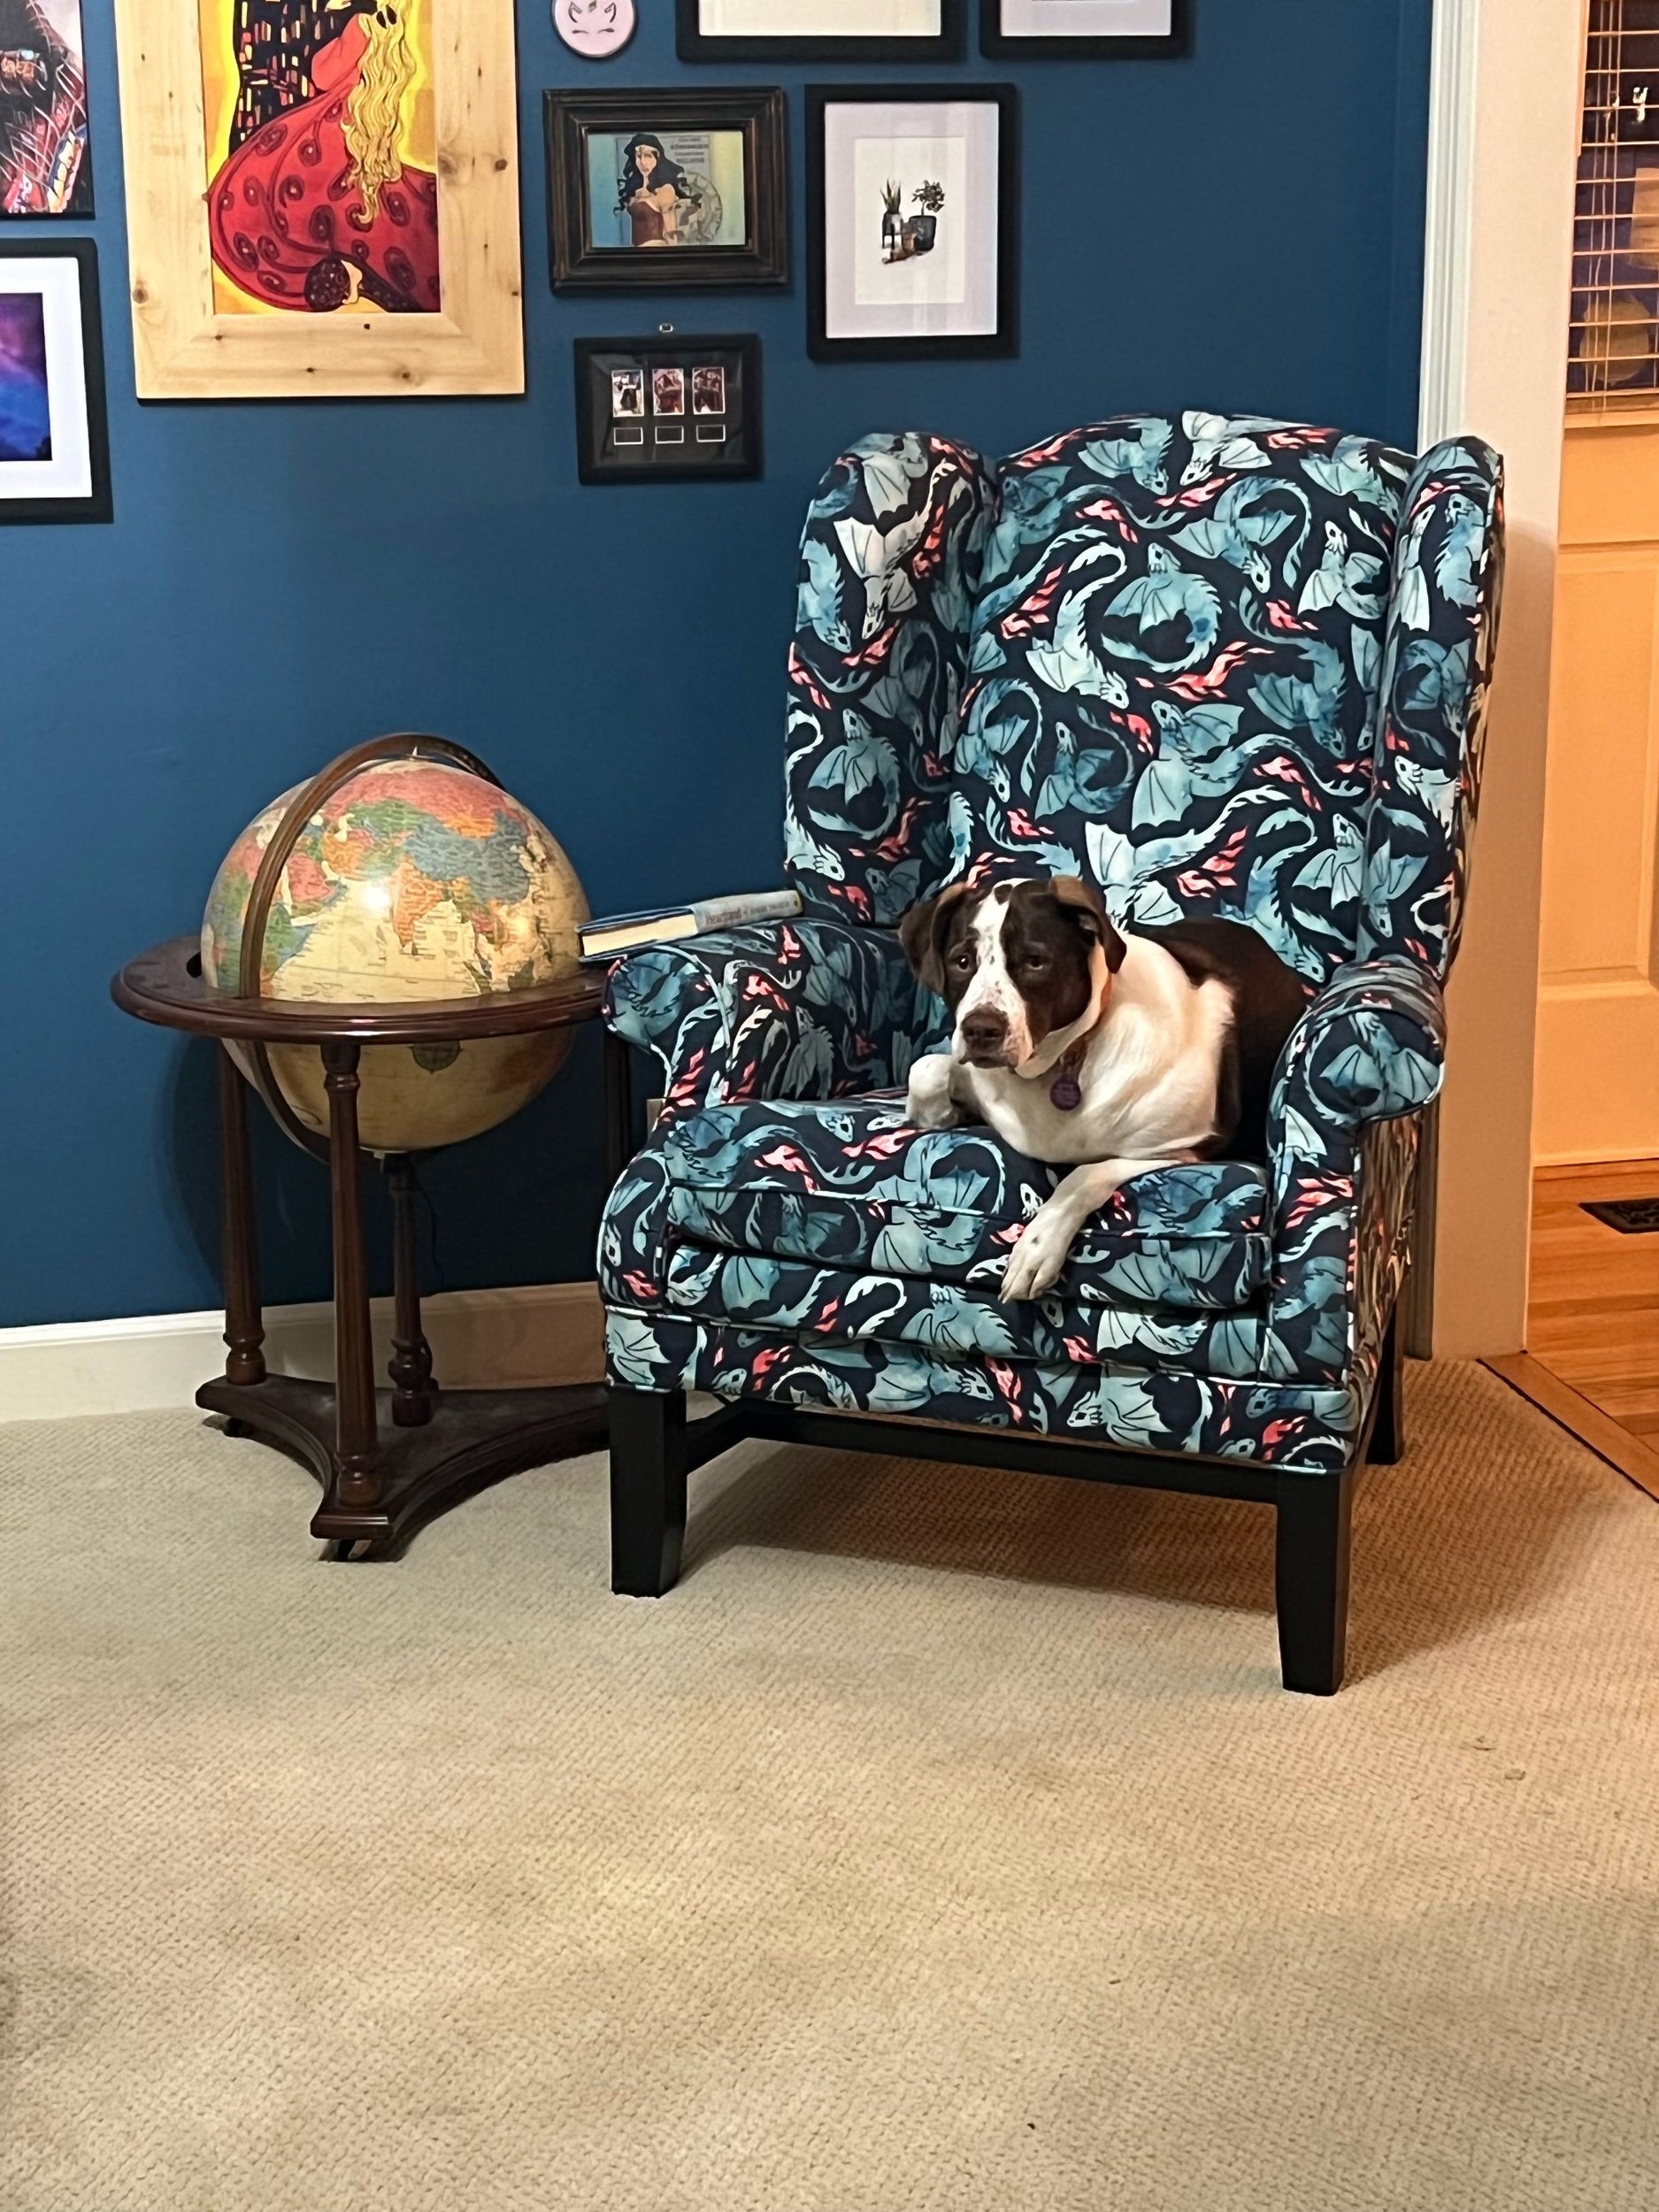
Dragon Chair Reupholster
Reupholstery, in general, is complicated. I was unprepared for how much this endeavor would try my patience - I’m not super patient. If I don’t ever reupholster something in my lifetime, it will be too soon - j/k… I’d do it again.
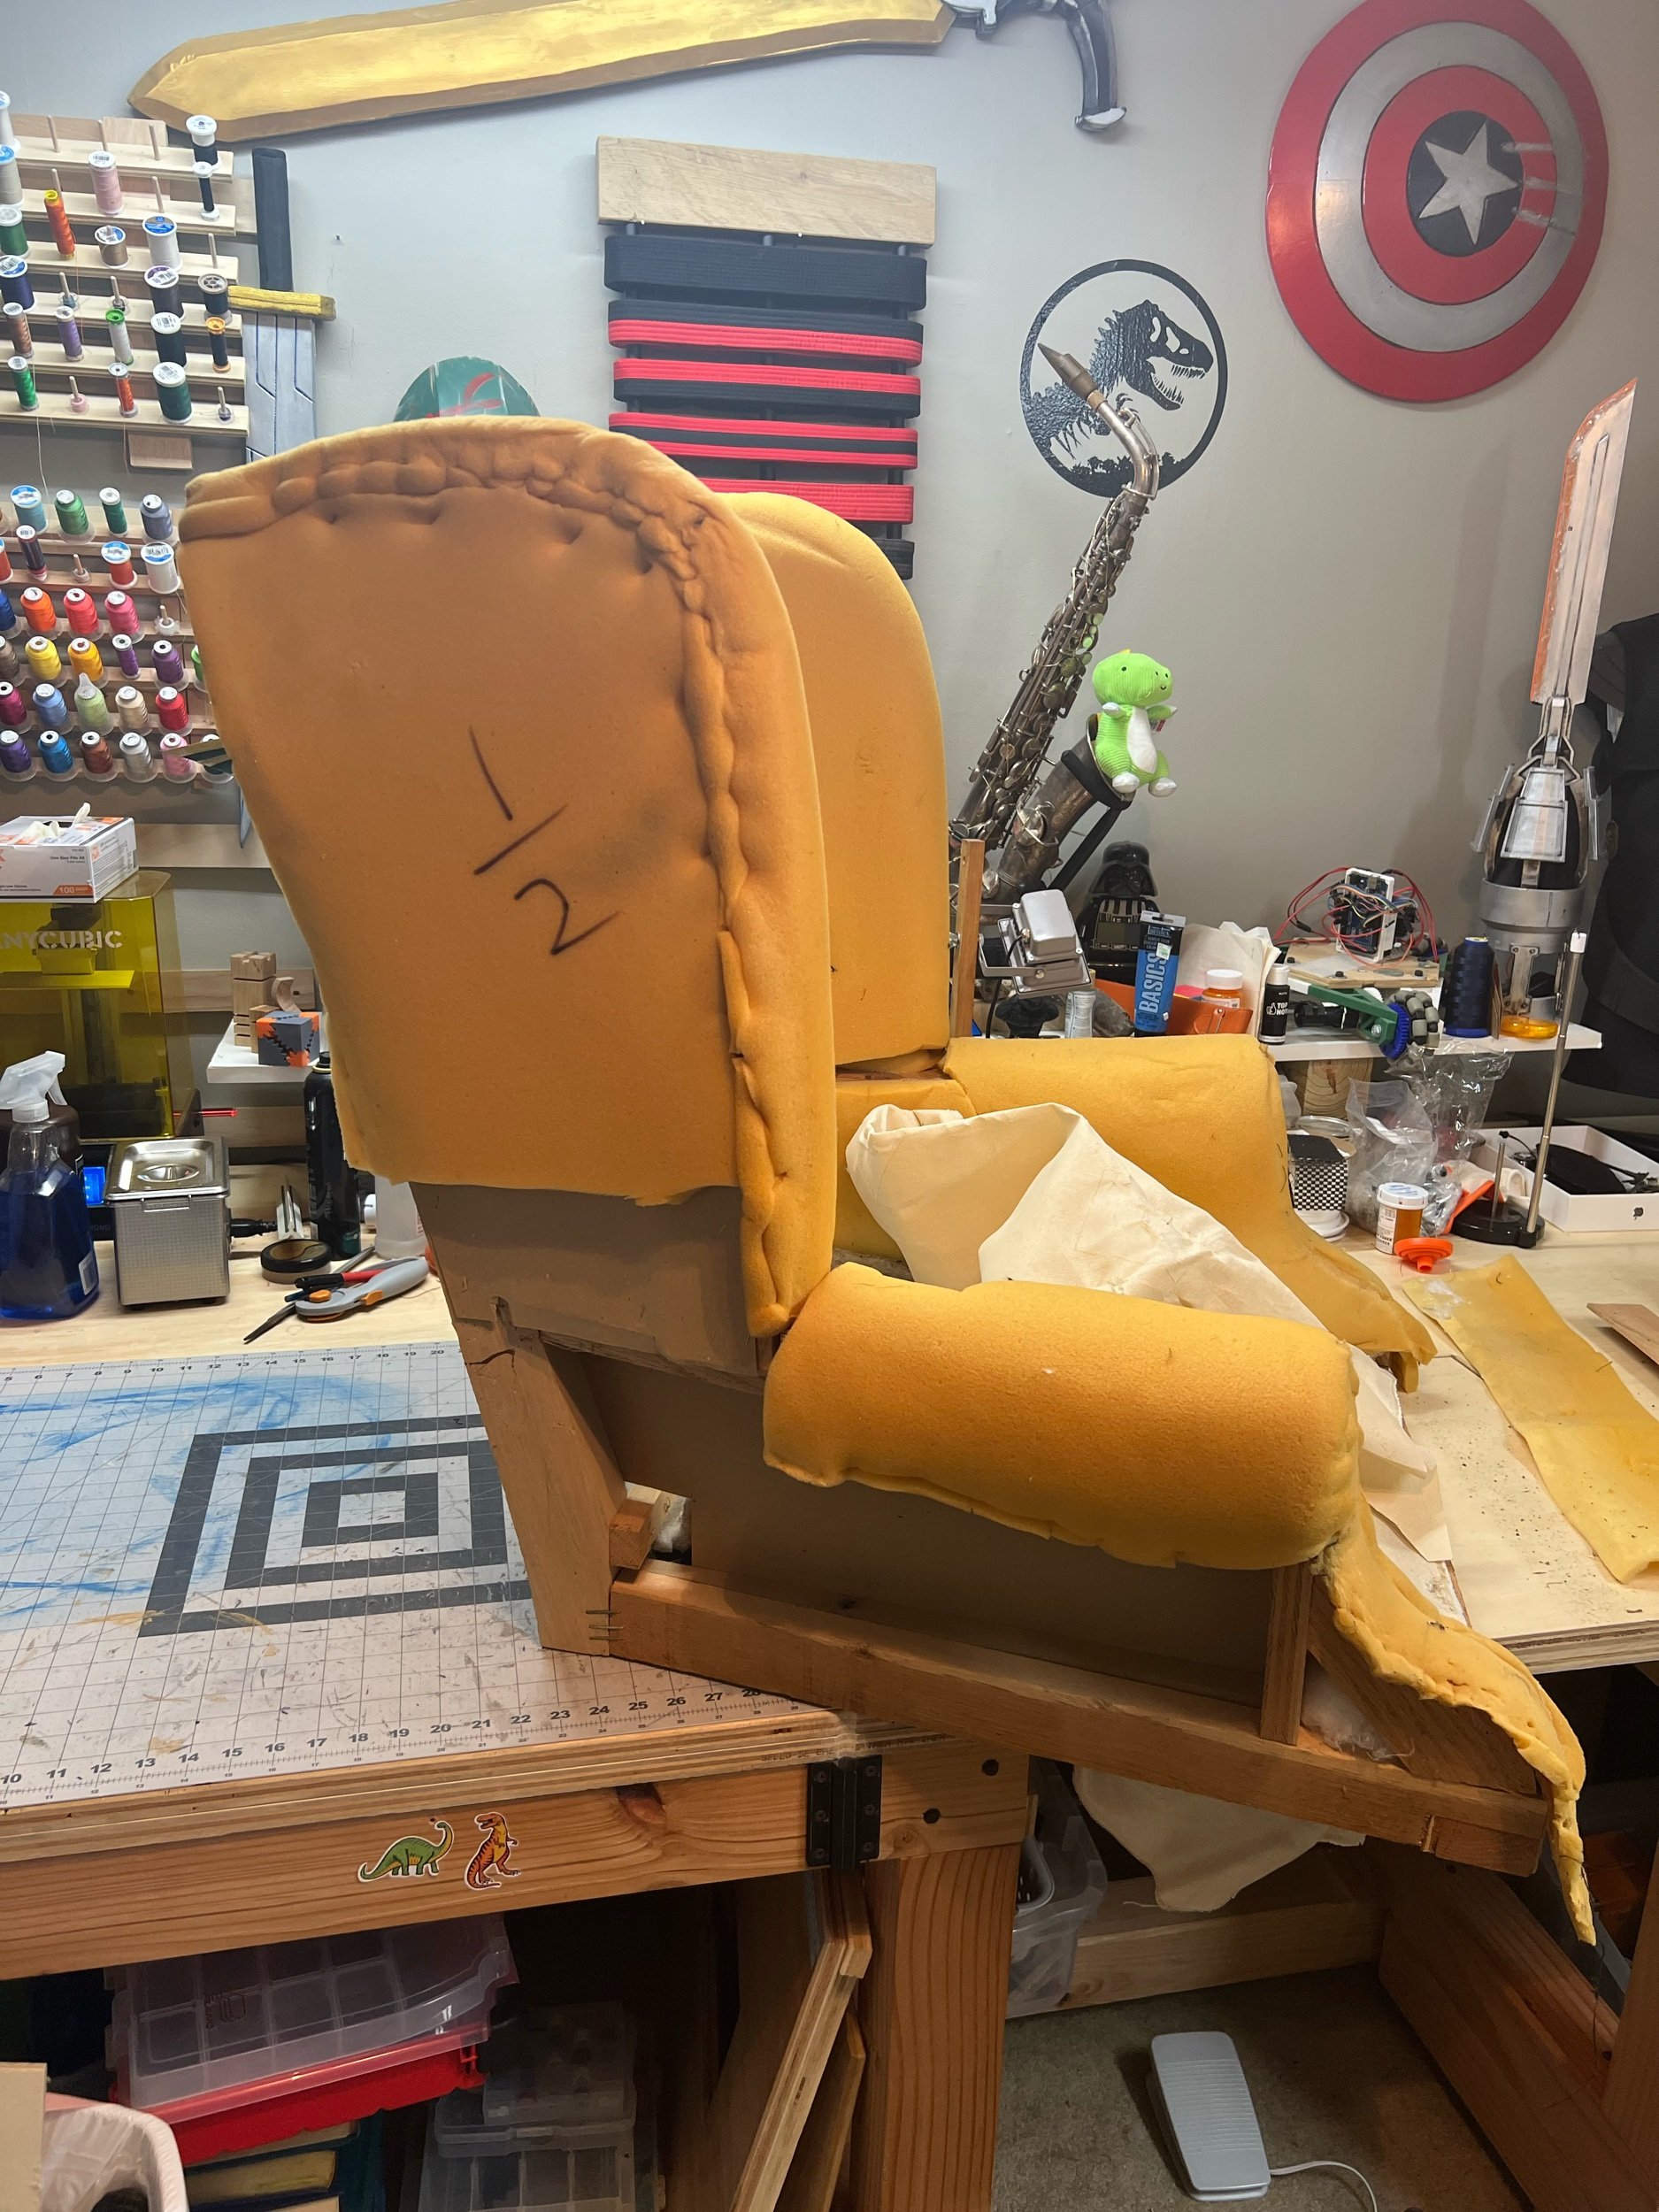
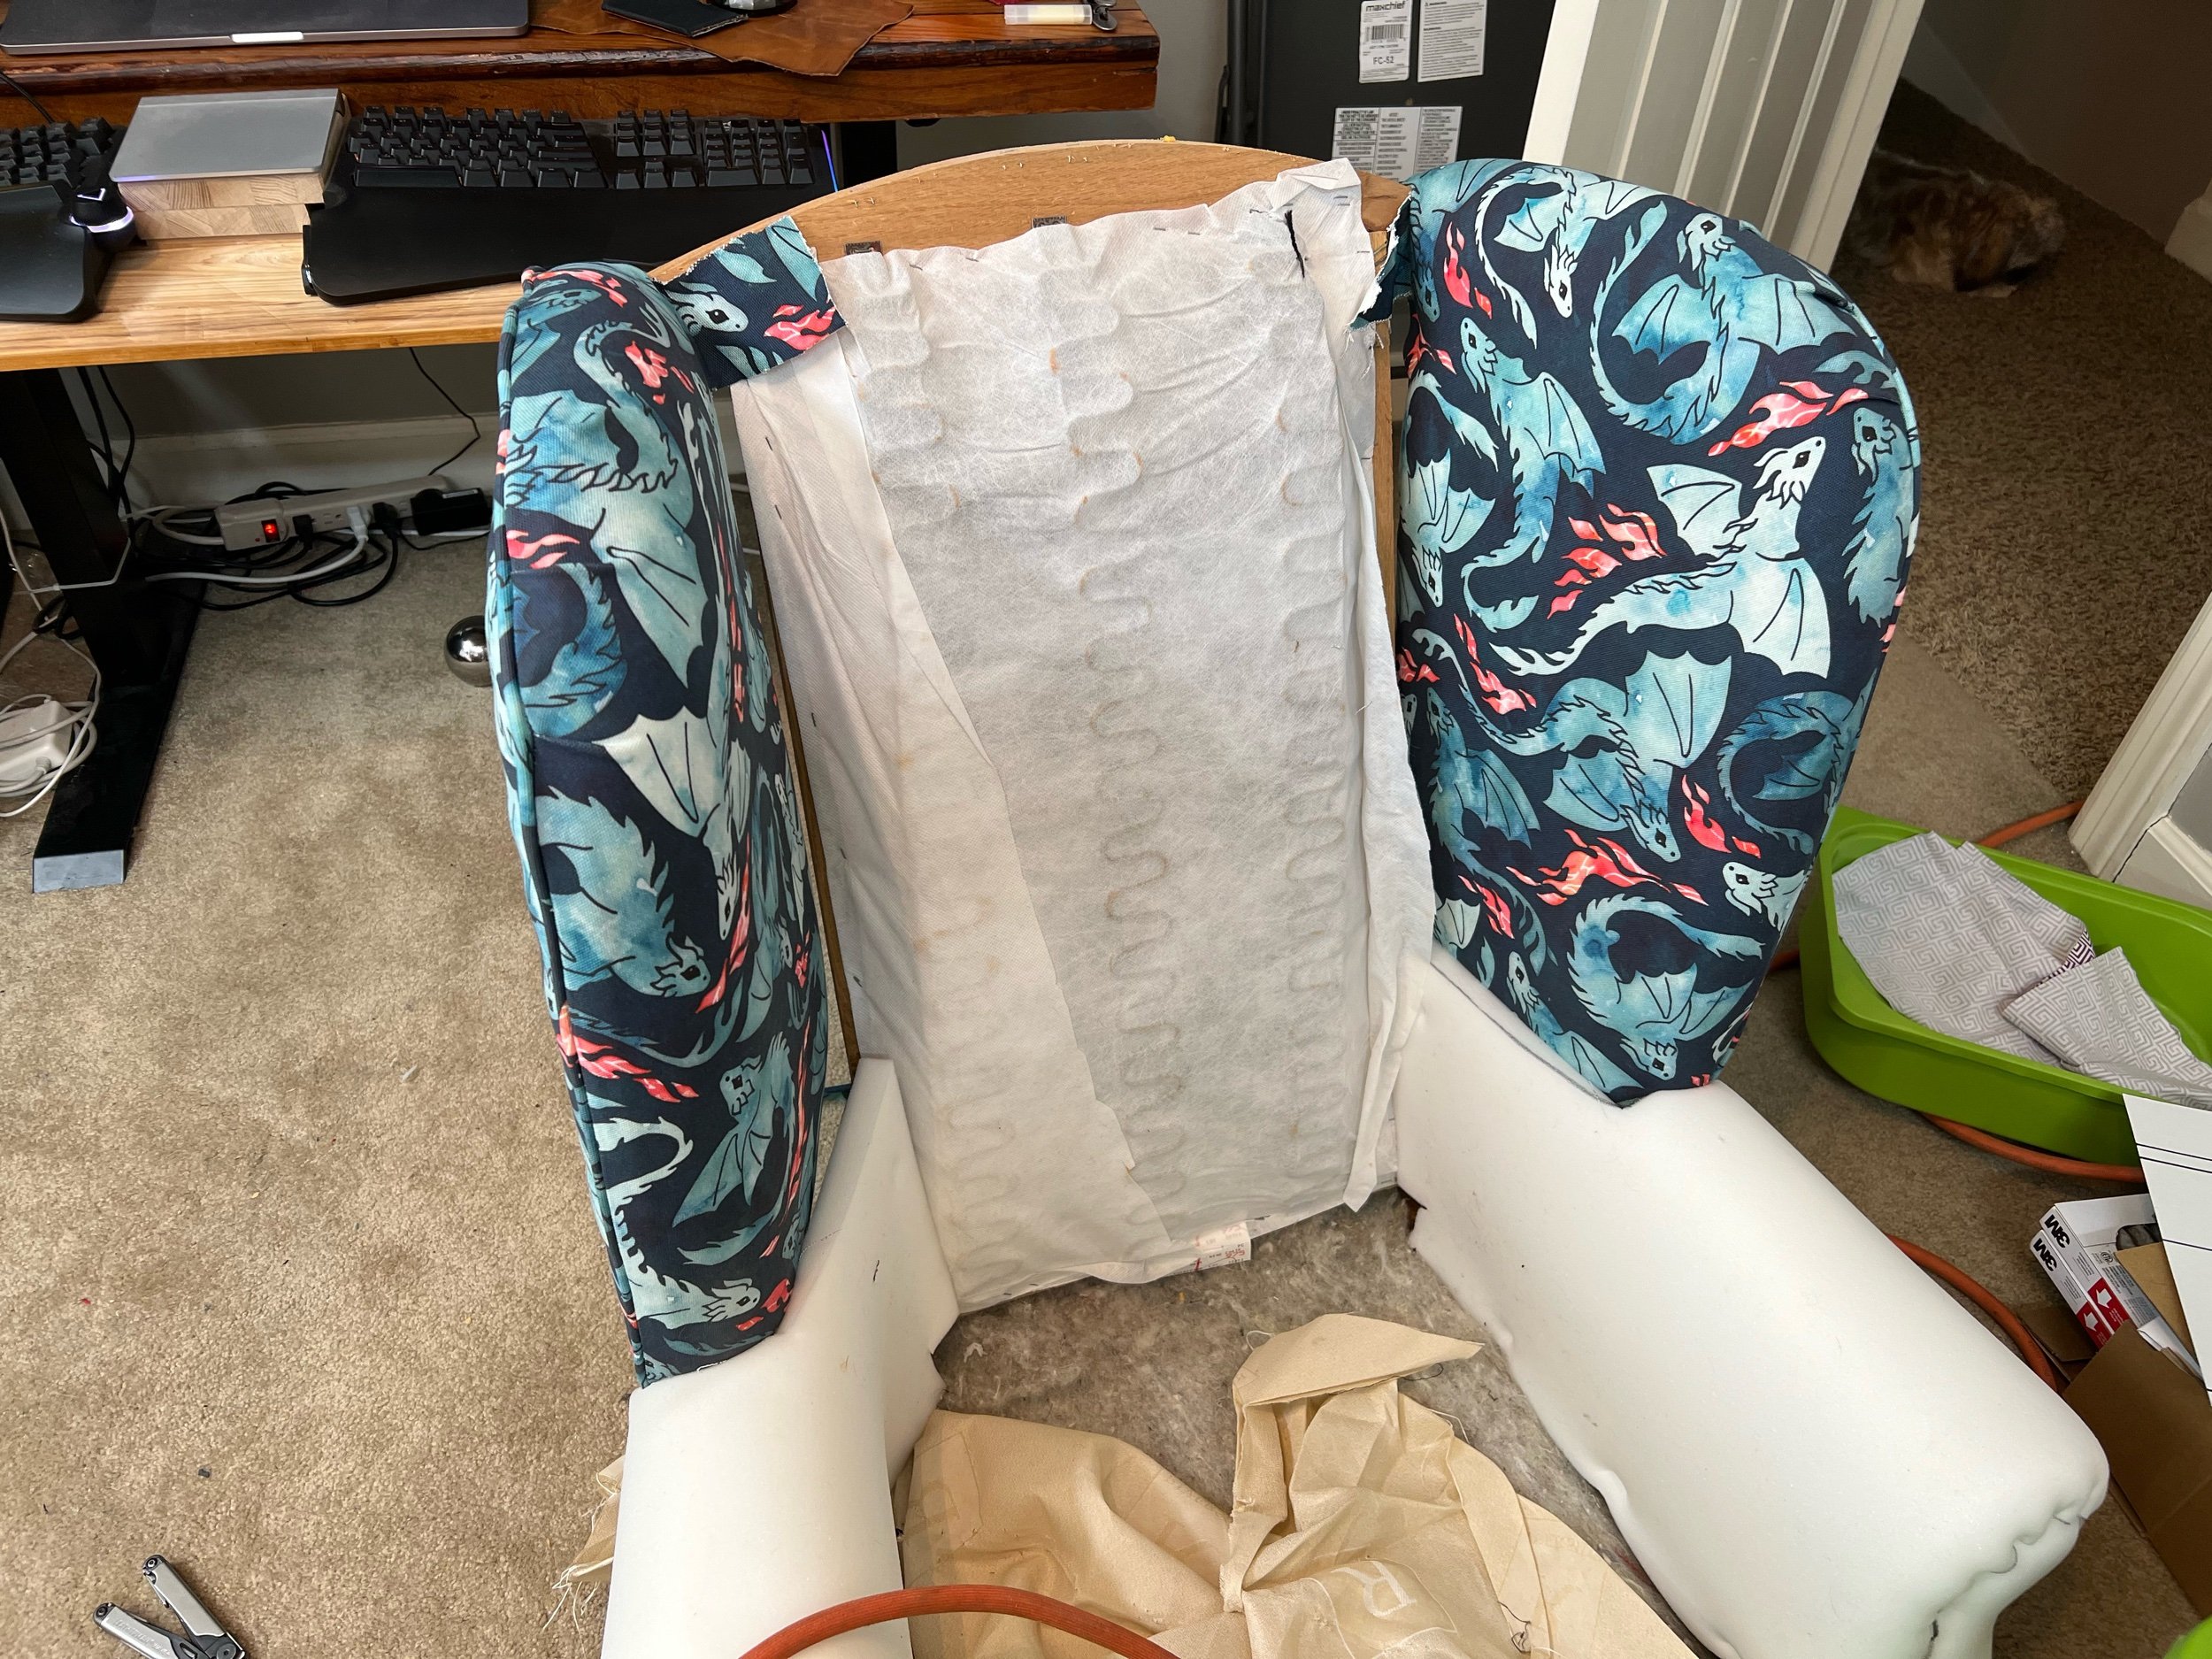
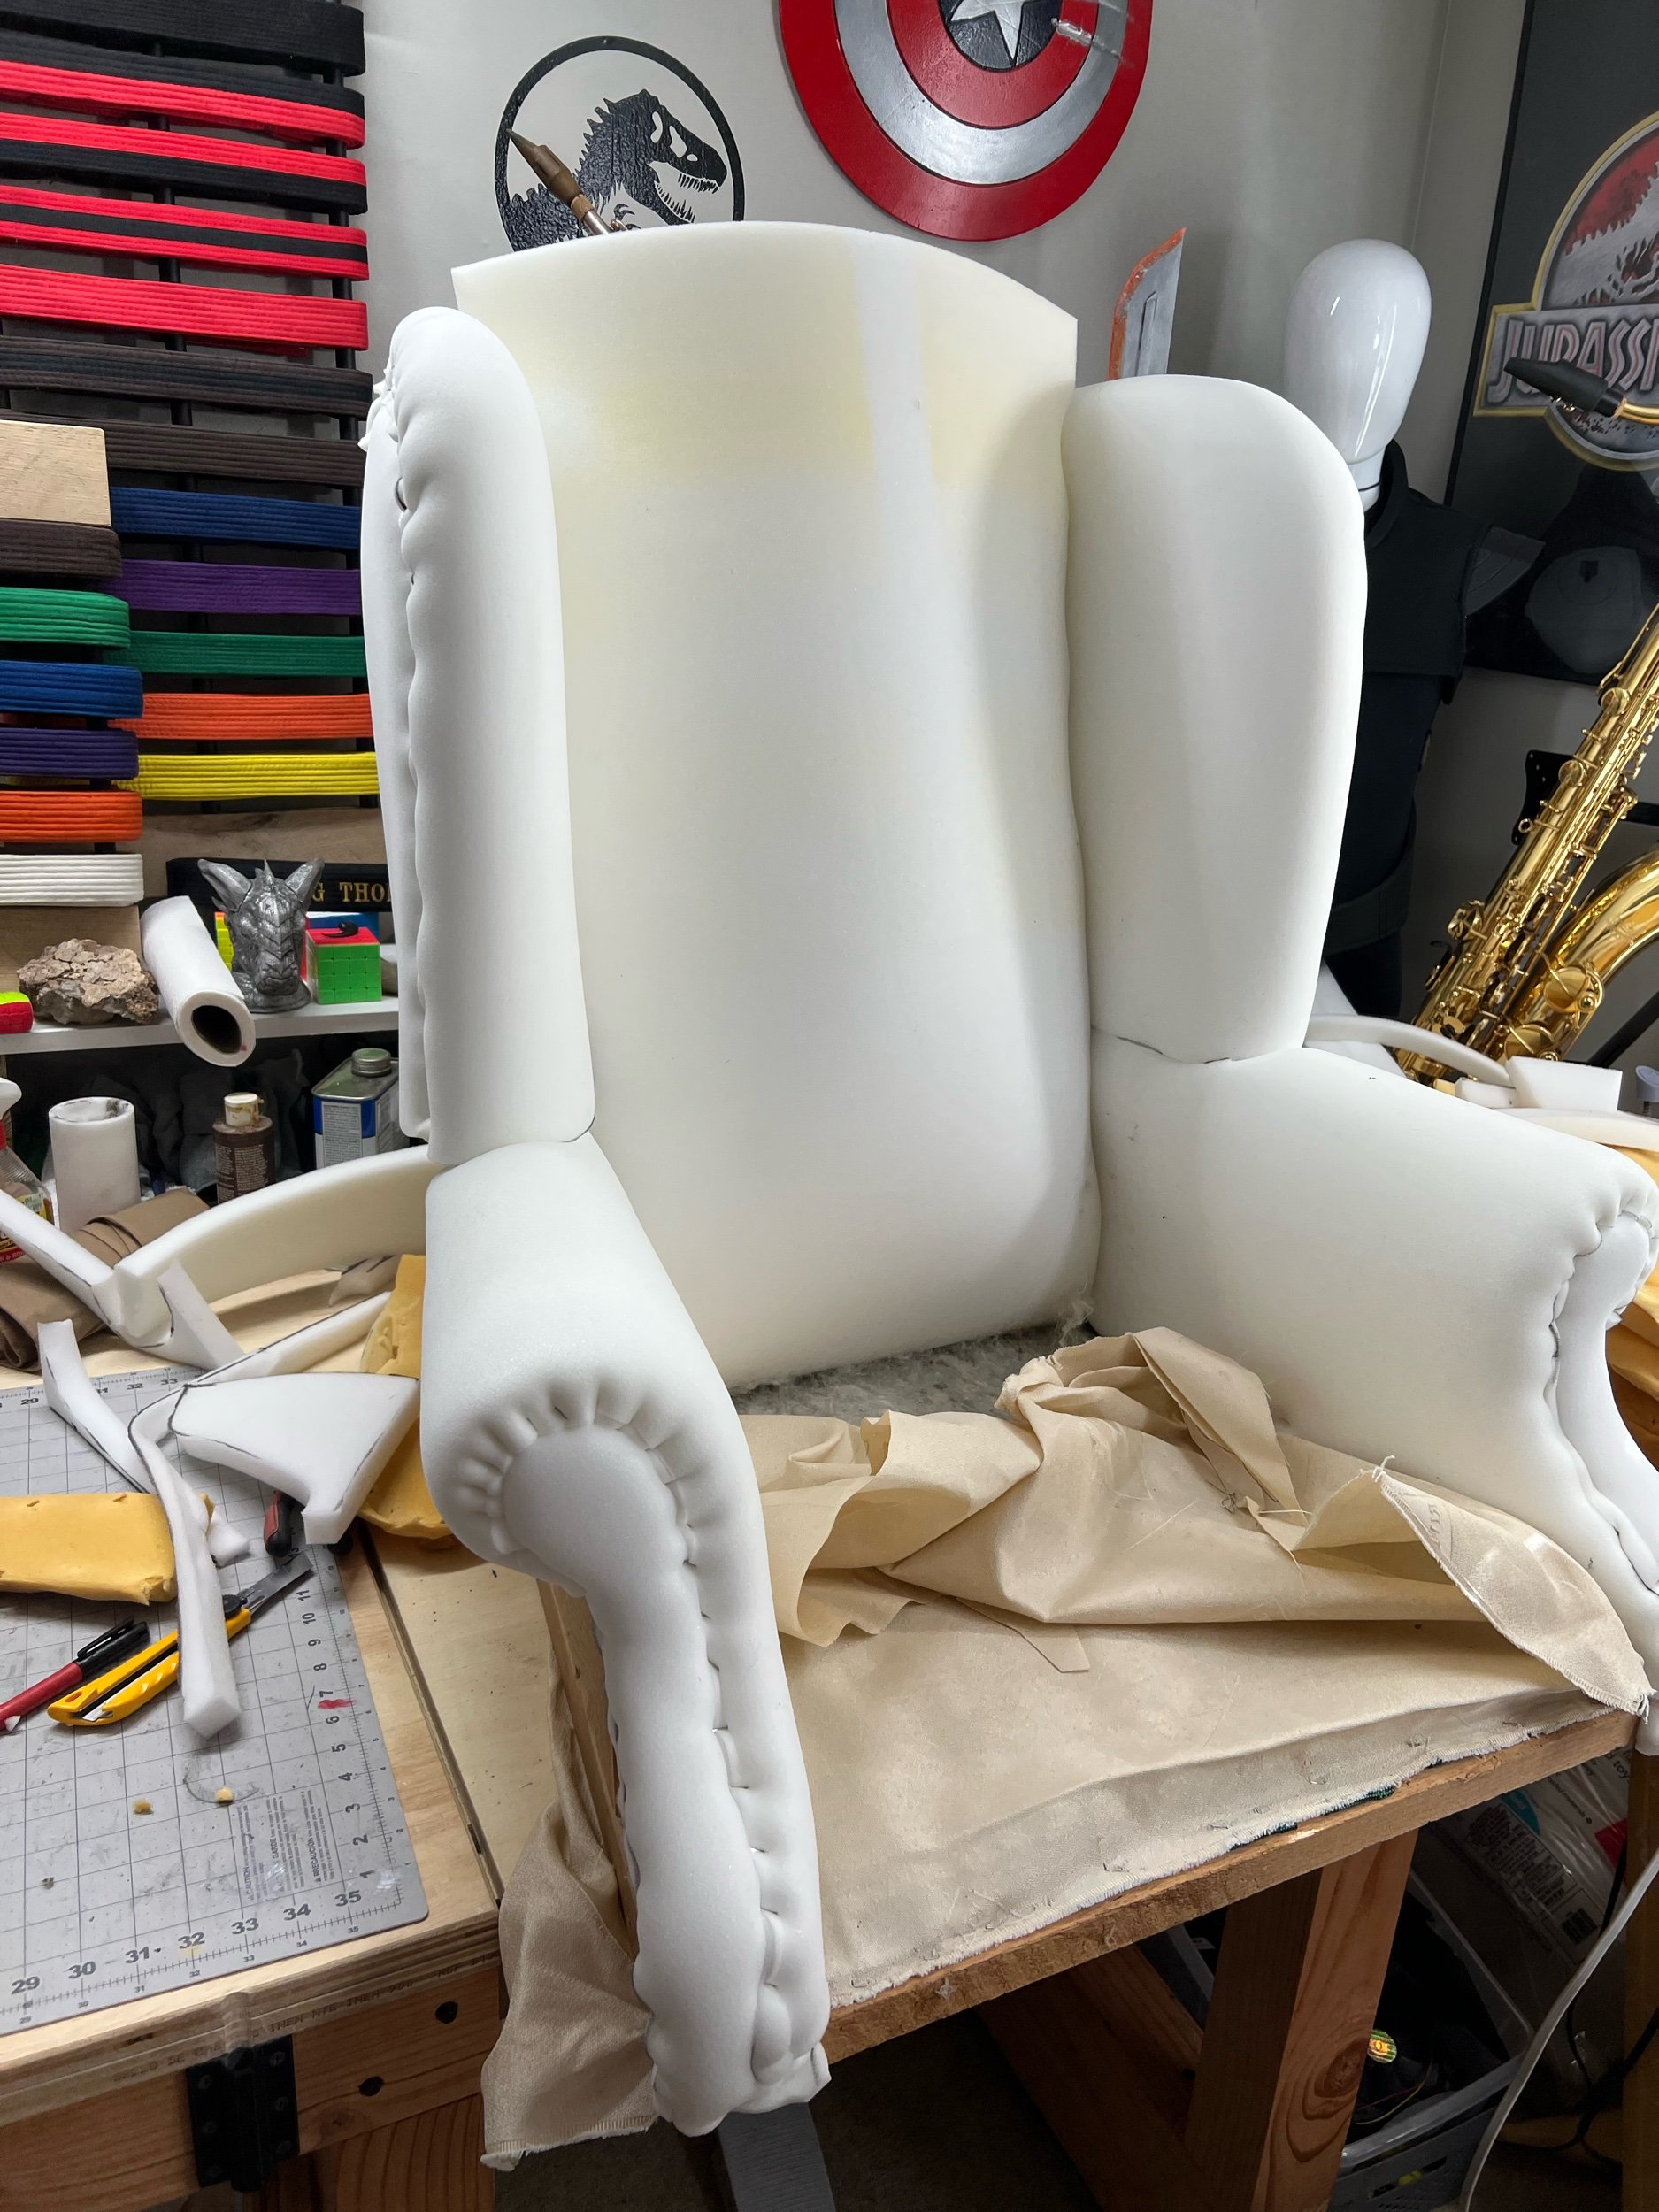
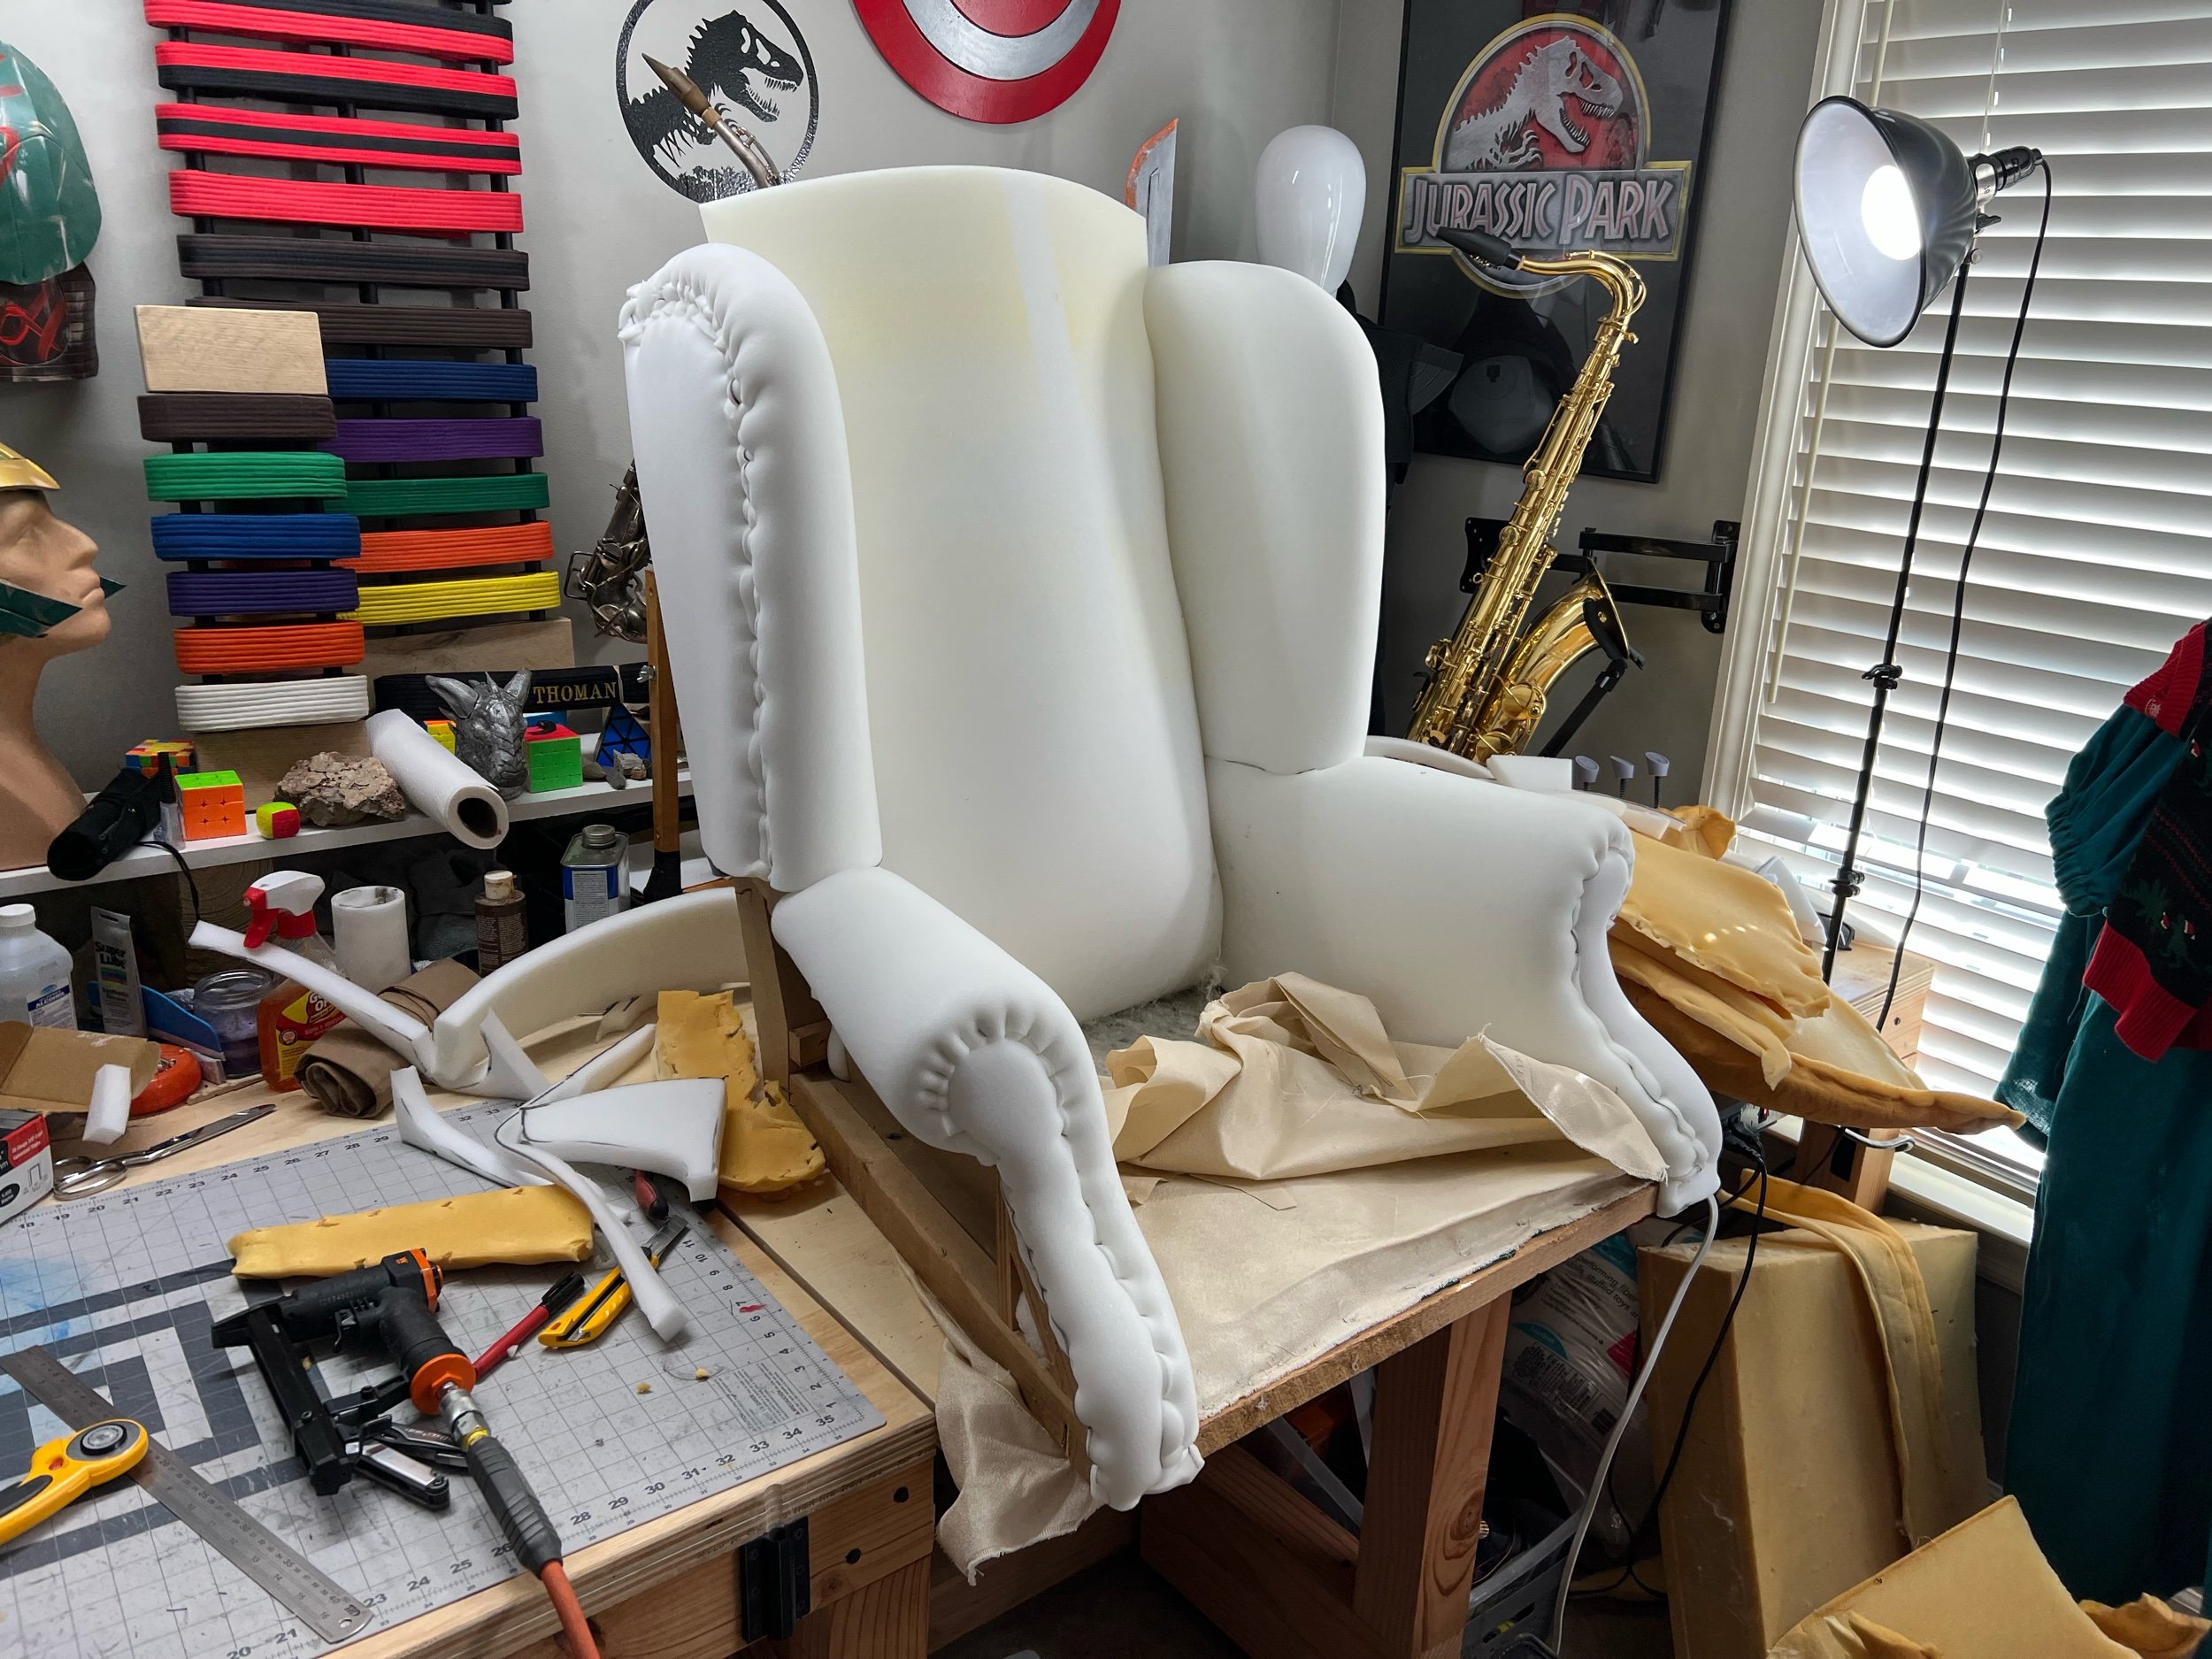
First off, a wing back armchair is a very complicated chair. Add to it that this one has piping and some complicated sewing that was required. There are also no patterns available when you are redoing a chair.
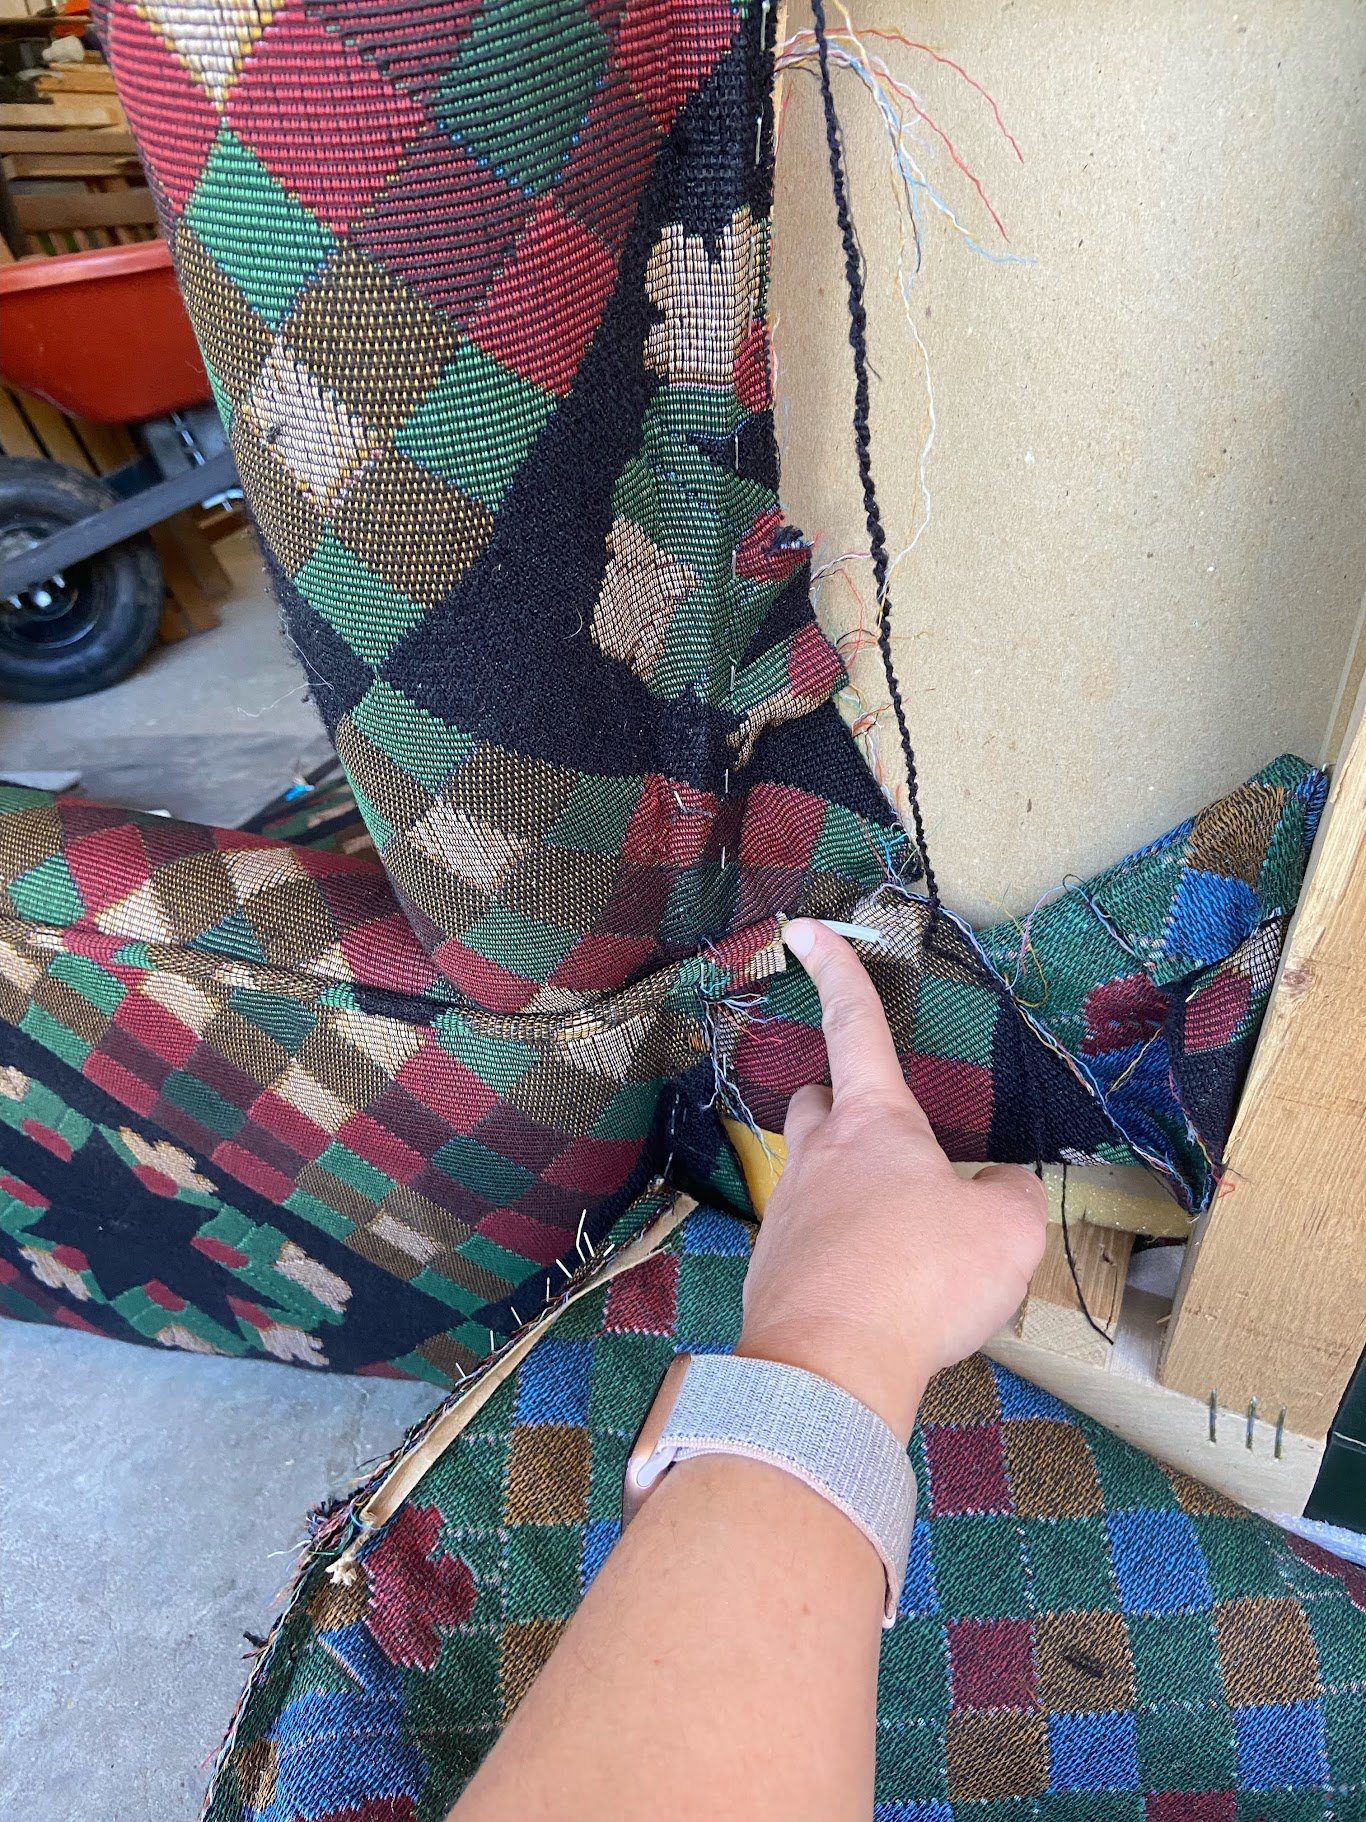
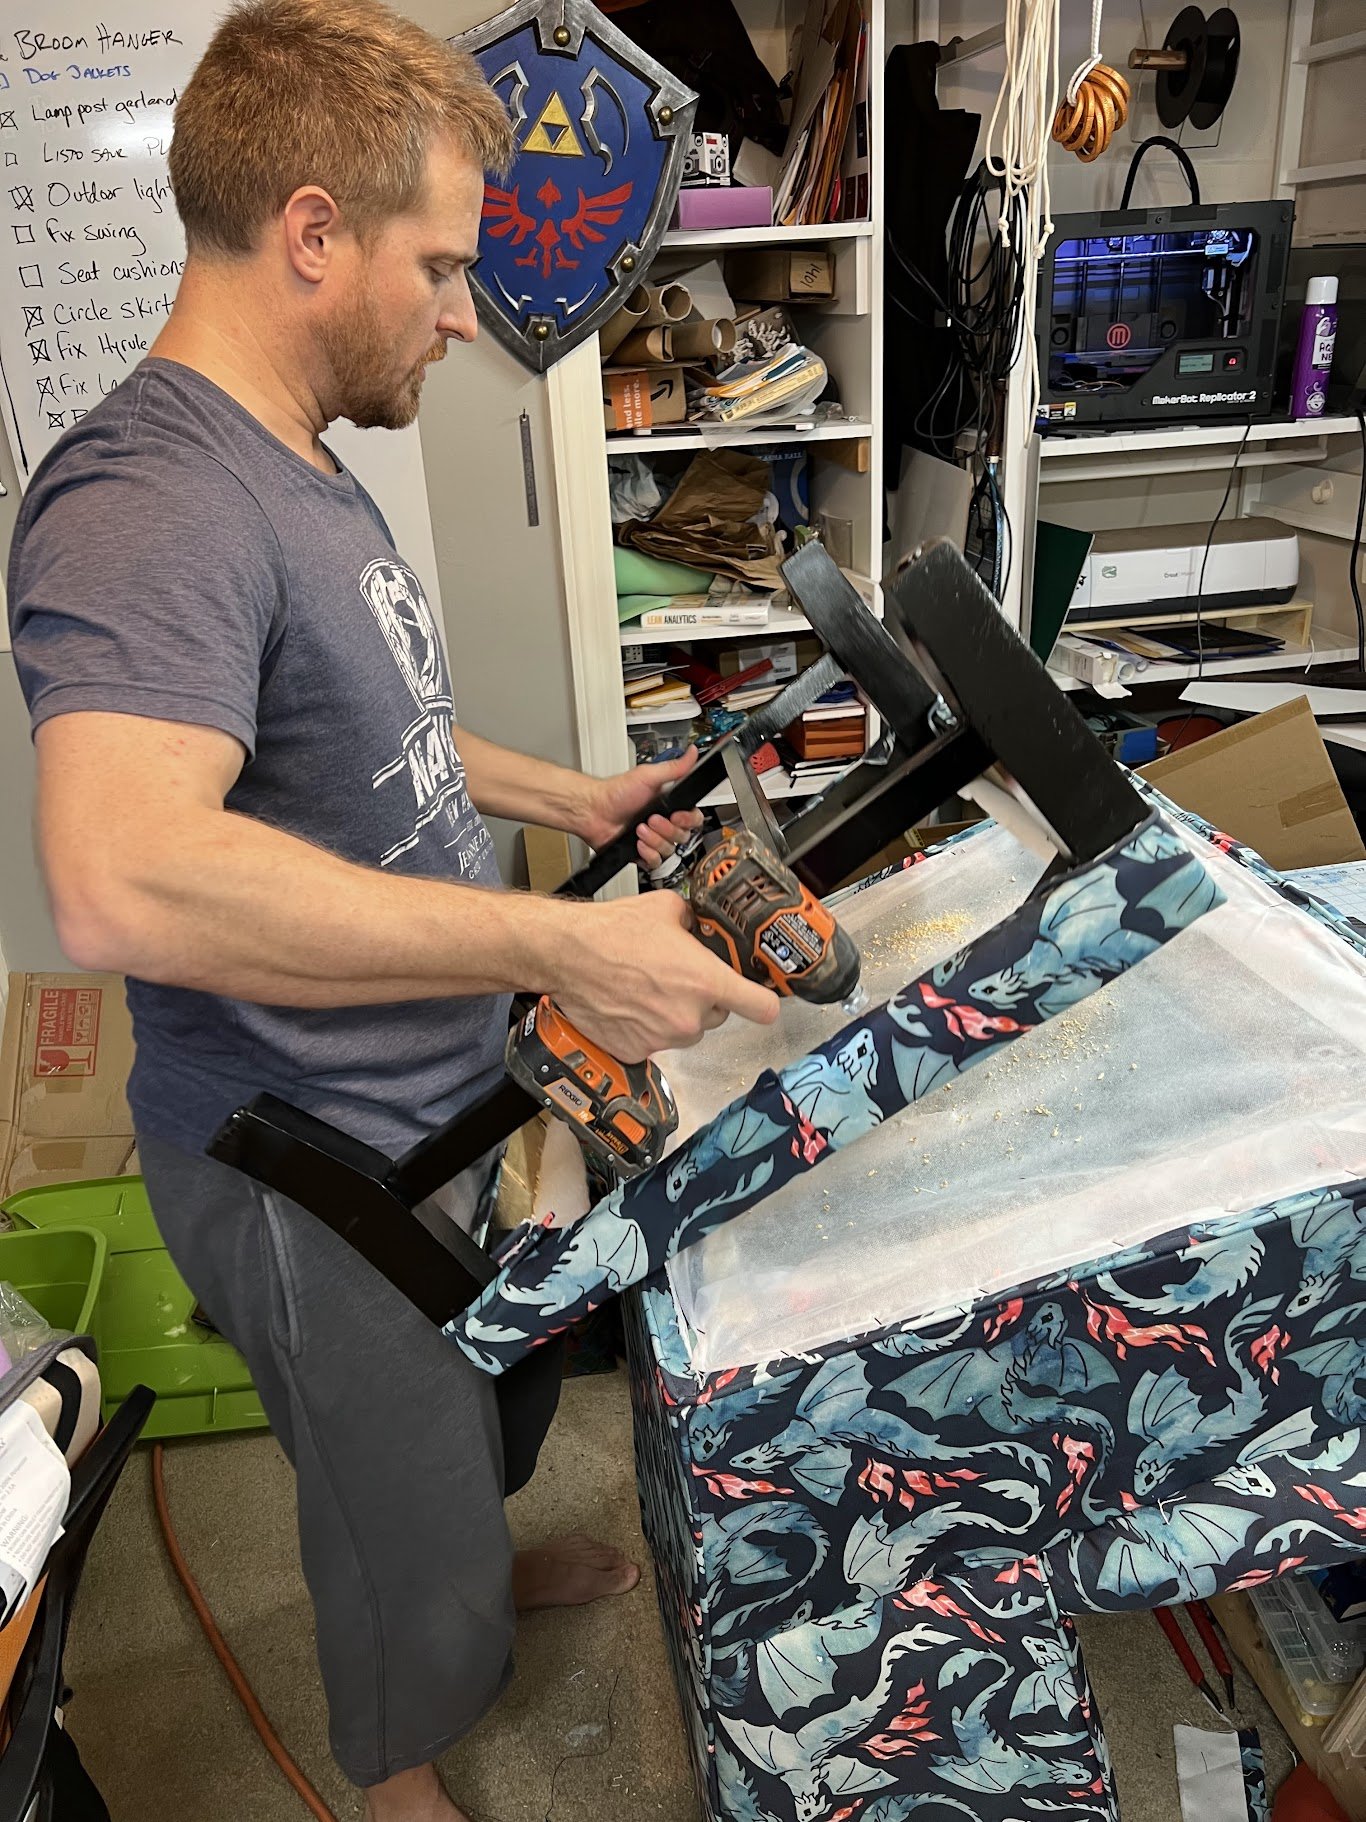
The first thing I learned is that you can’t take too many pictures of the tear down process. I wish I had taken some video along the was on how some of these pieces fit together. If you know me, you know that I am very spatially aware, good at puzzles and problem solving. To be honest, this project made me feel like everything was new.
It was by far the most complicated project I’d done, up until the Fireplace Rocker - which was complicated for a whole different set of reasons.
Lessons Learnt:
Make patterns and directions for reassembly WHILE YOU ARE TAKING IT APART!
Yes - demo is fun and exciting
Yes, you feel like you are making progress
Yes, you think you will remember
No, you won’t
Buy a piping foot - a zipper foot may seem like it will work, but there’s nothing like sewing piping as fast as your machine can stitch
Take video of complicated sections
Buy an air stapler. Upholstered chairs have TONS of staples.
Turn air compressor off when you’re done so it doesn’t wake you up abruptly in the middle of the night.
Also - since working from home for 2 years now, I have turned a lot of my pants into capris.