Bombay Dresser Refinish - In Progress
While we are having the kitchen remodeled, the bathroom (1/2 bath) will be touched up as well. It’s a rather small bathroom and we wanted something fun as the main focus. Because, something in the bathroom should be fun, right?
We were originally going to refinish an antique dresser and install a vessel sink. But after seeing just how awesome Bombay dressers are, our decision was made. Just needed to find one. This cute one showed up on Facebook and we jumped on it.
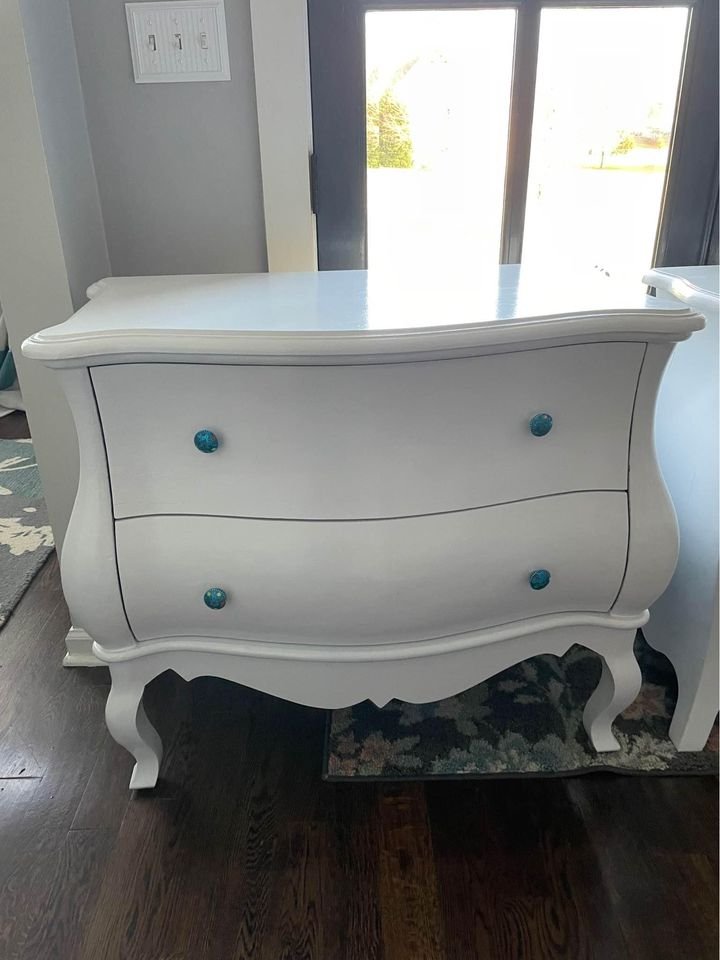
Before. Remembering to take pictures is a huge pain. At times, I do remember.
We ditched to blue hardware, and I filled the holes with Plastic Wood to get a fresh start.


If you zoom in to this picture, there is a texture under the white acrylic paint. That’s going to have to be dealt with. There are a few ways to do this, my preferred way is using auto body filler primer.
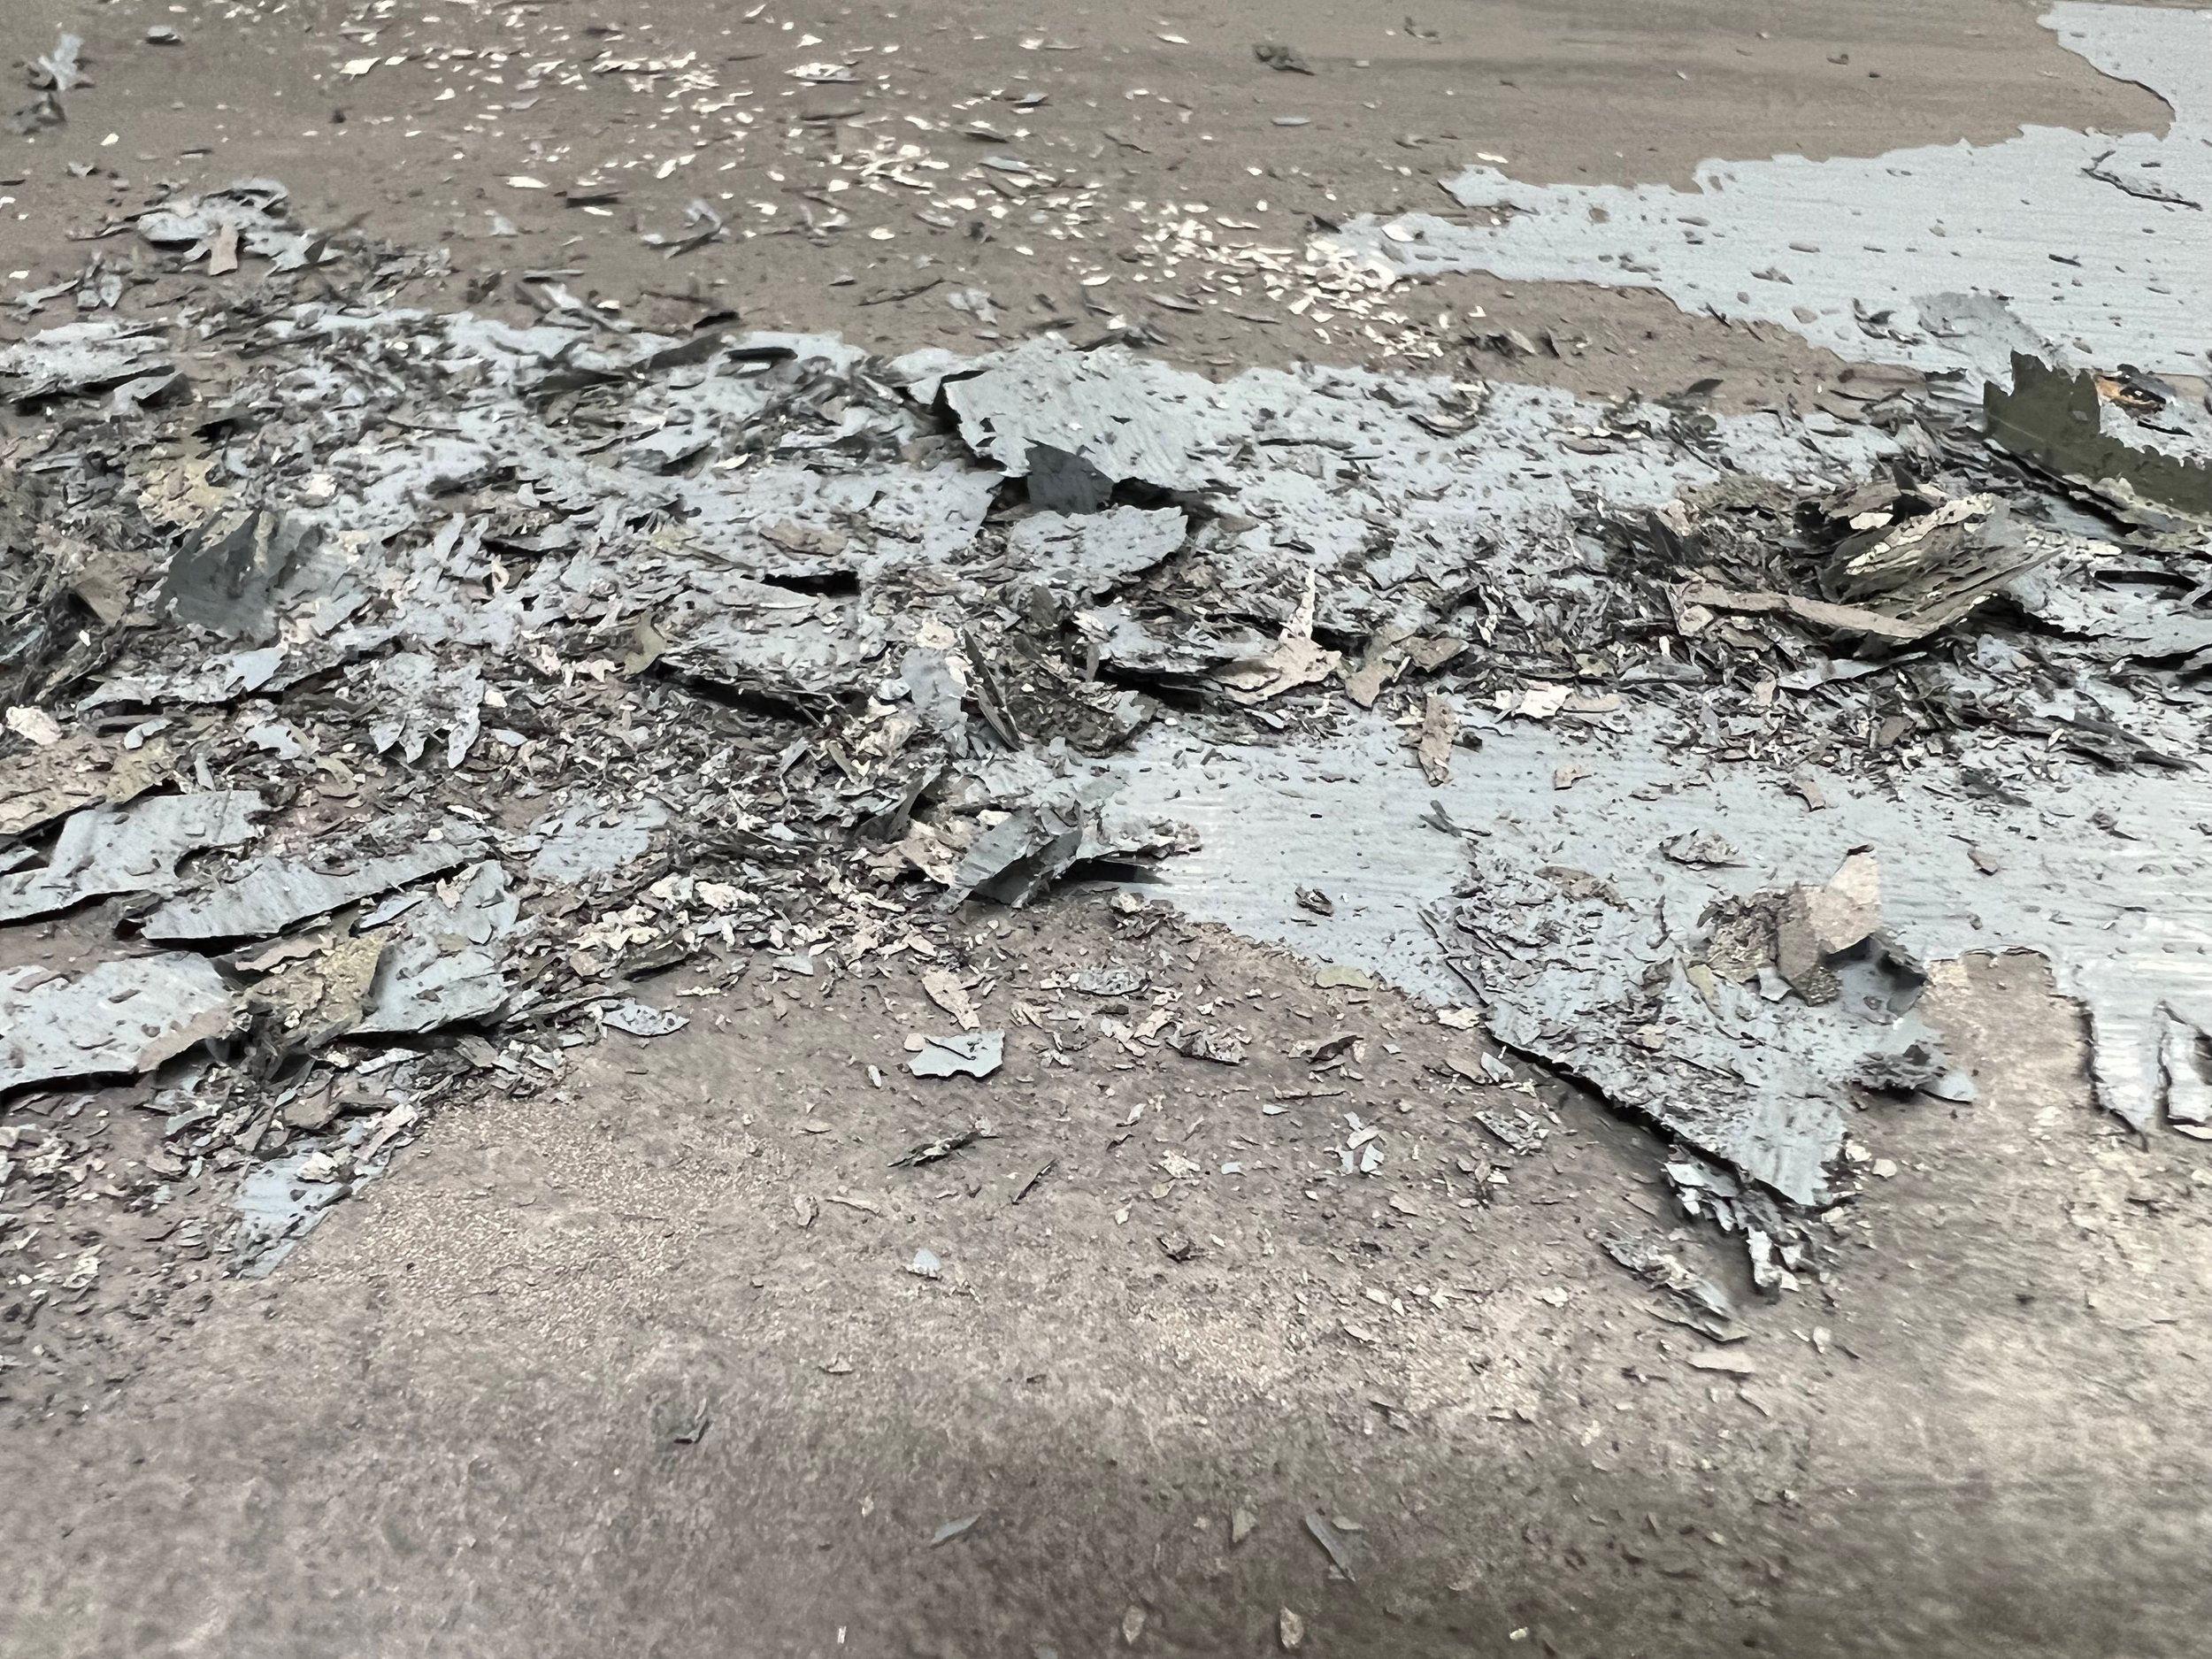
On the top, the paint came off much easier by scraping - the rest was a combination of random orbit sander and elbow grease.

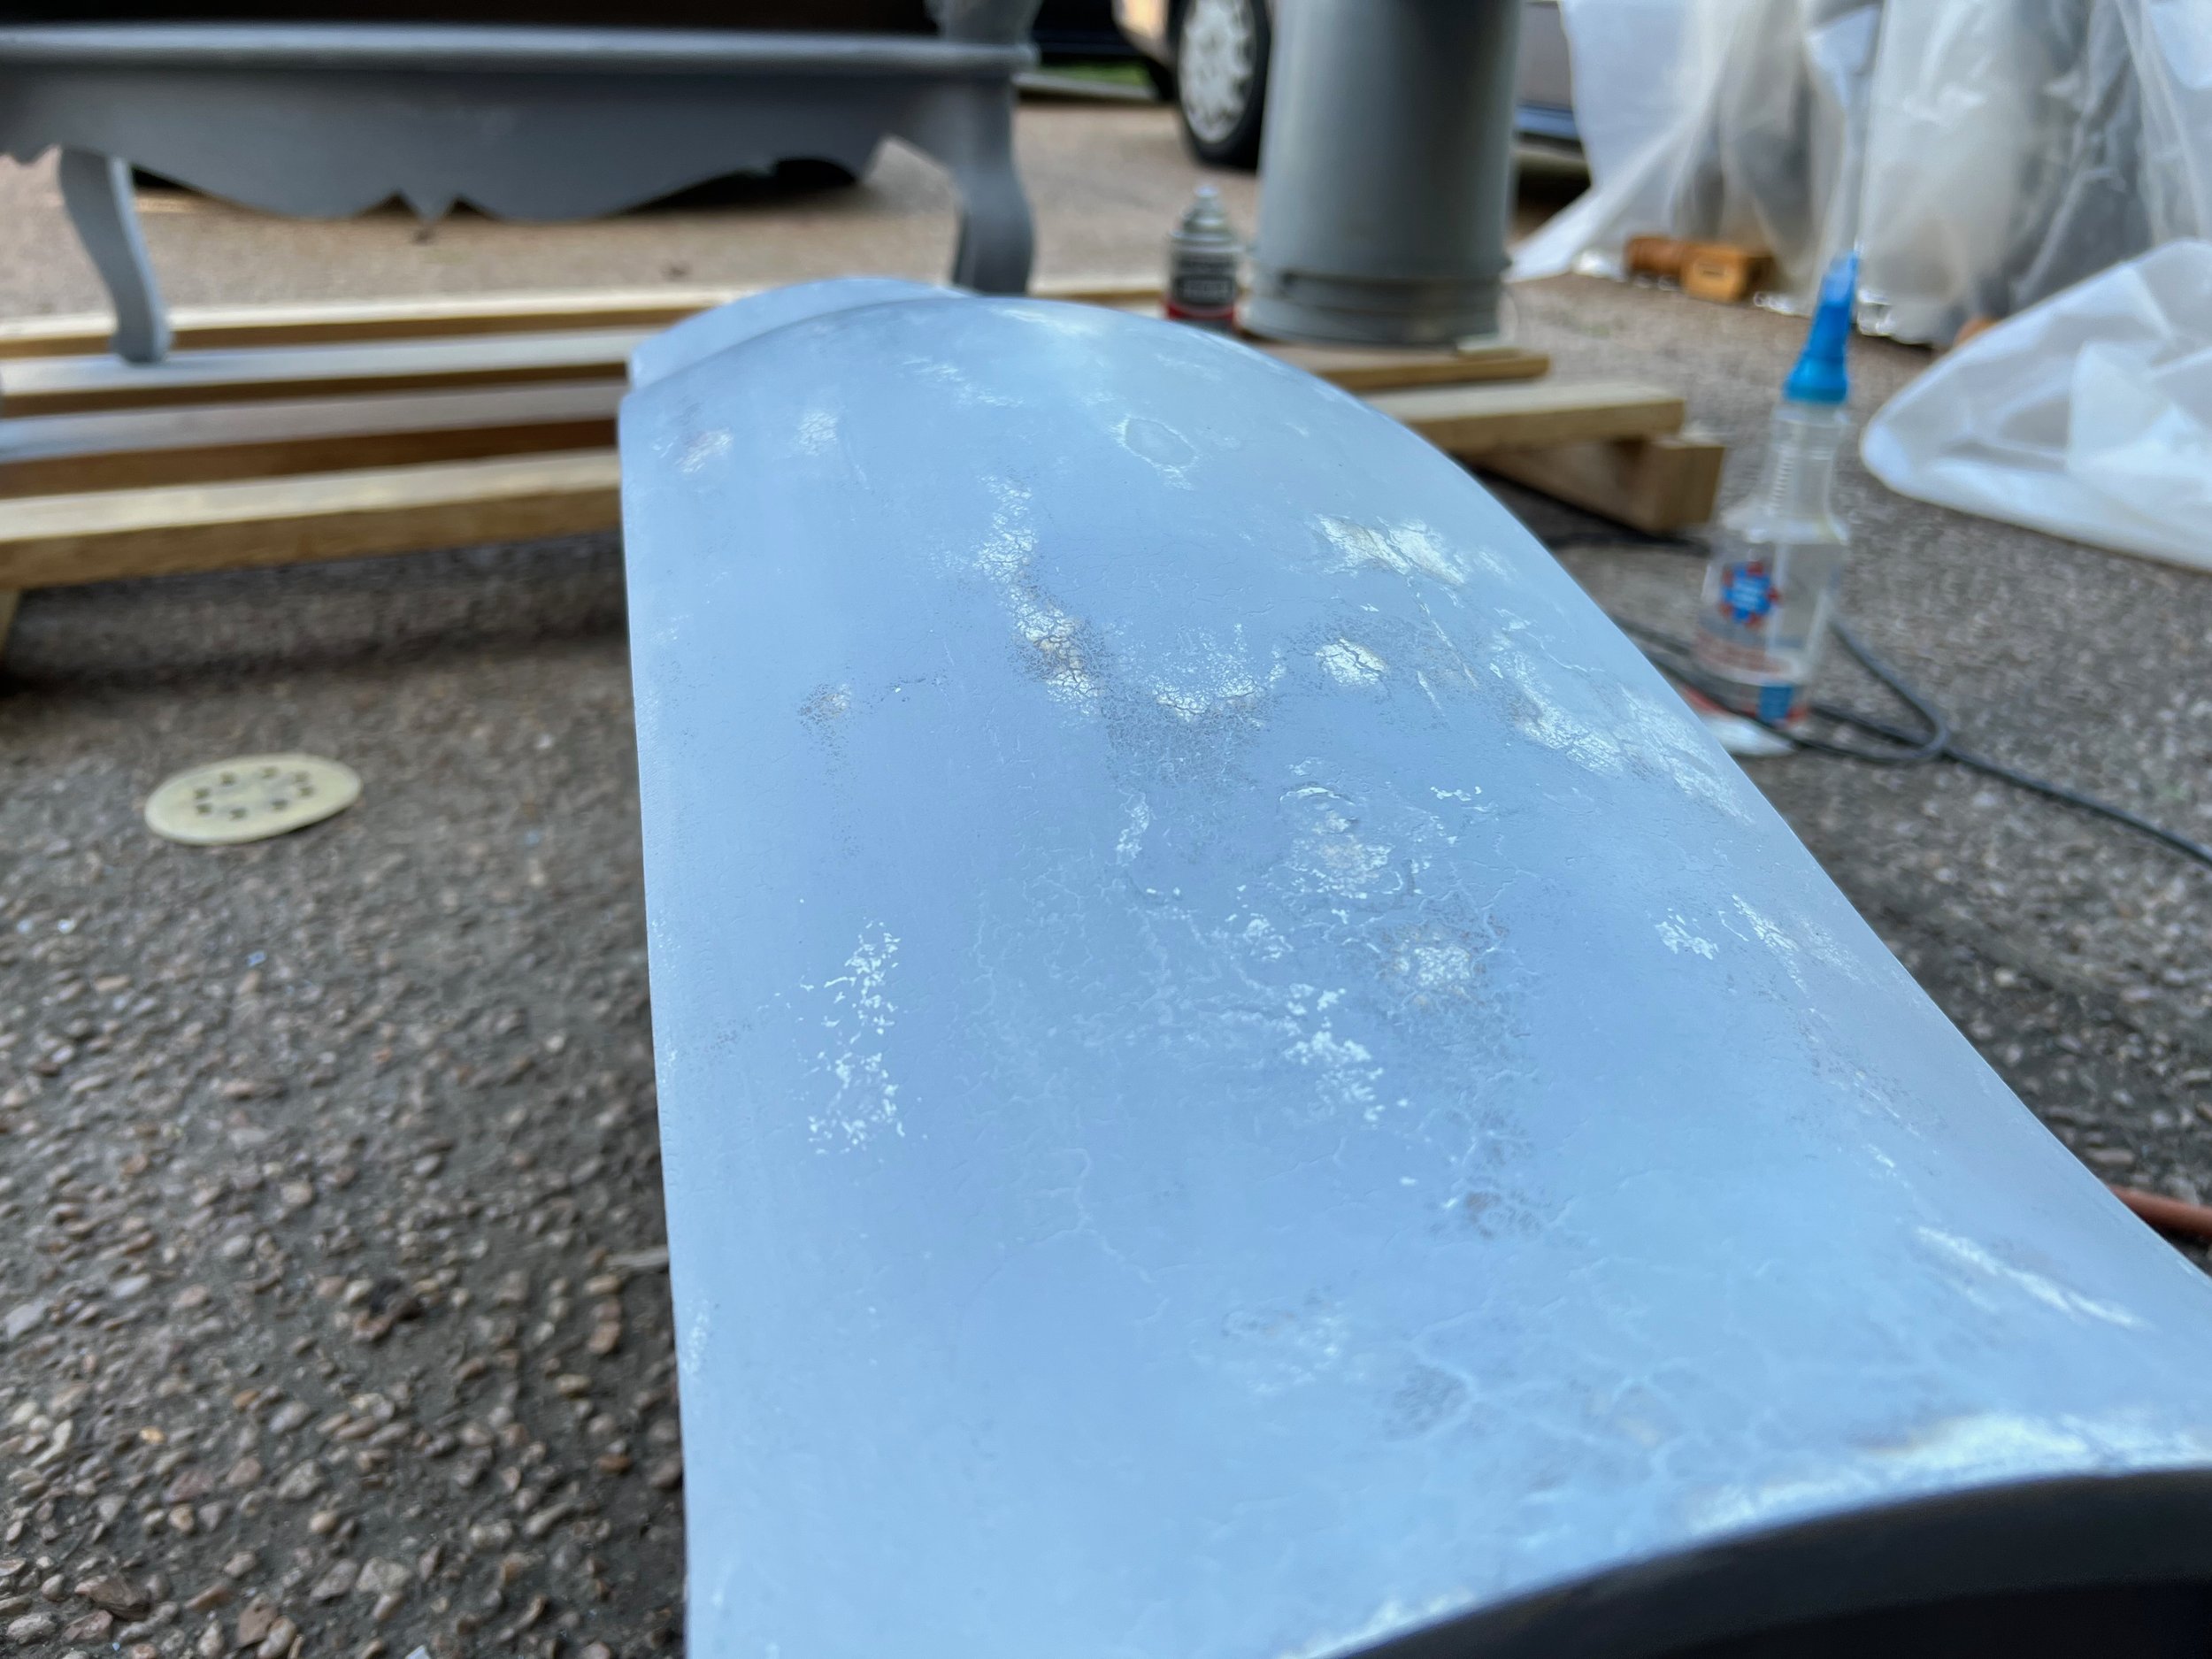
The top, after a scraping and a light sanding.

The curves of the bombay drawers are curved and awesome. I’m guessing this dresser was refinished at least 4 times.


A picture mid priming. The goal of using filler primer is that it builds up and gives you a smooth surface after sanding.

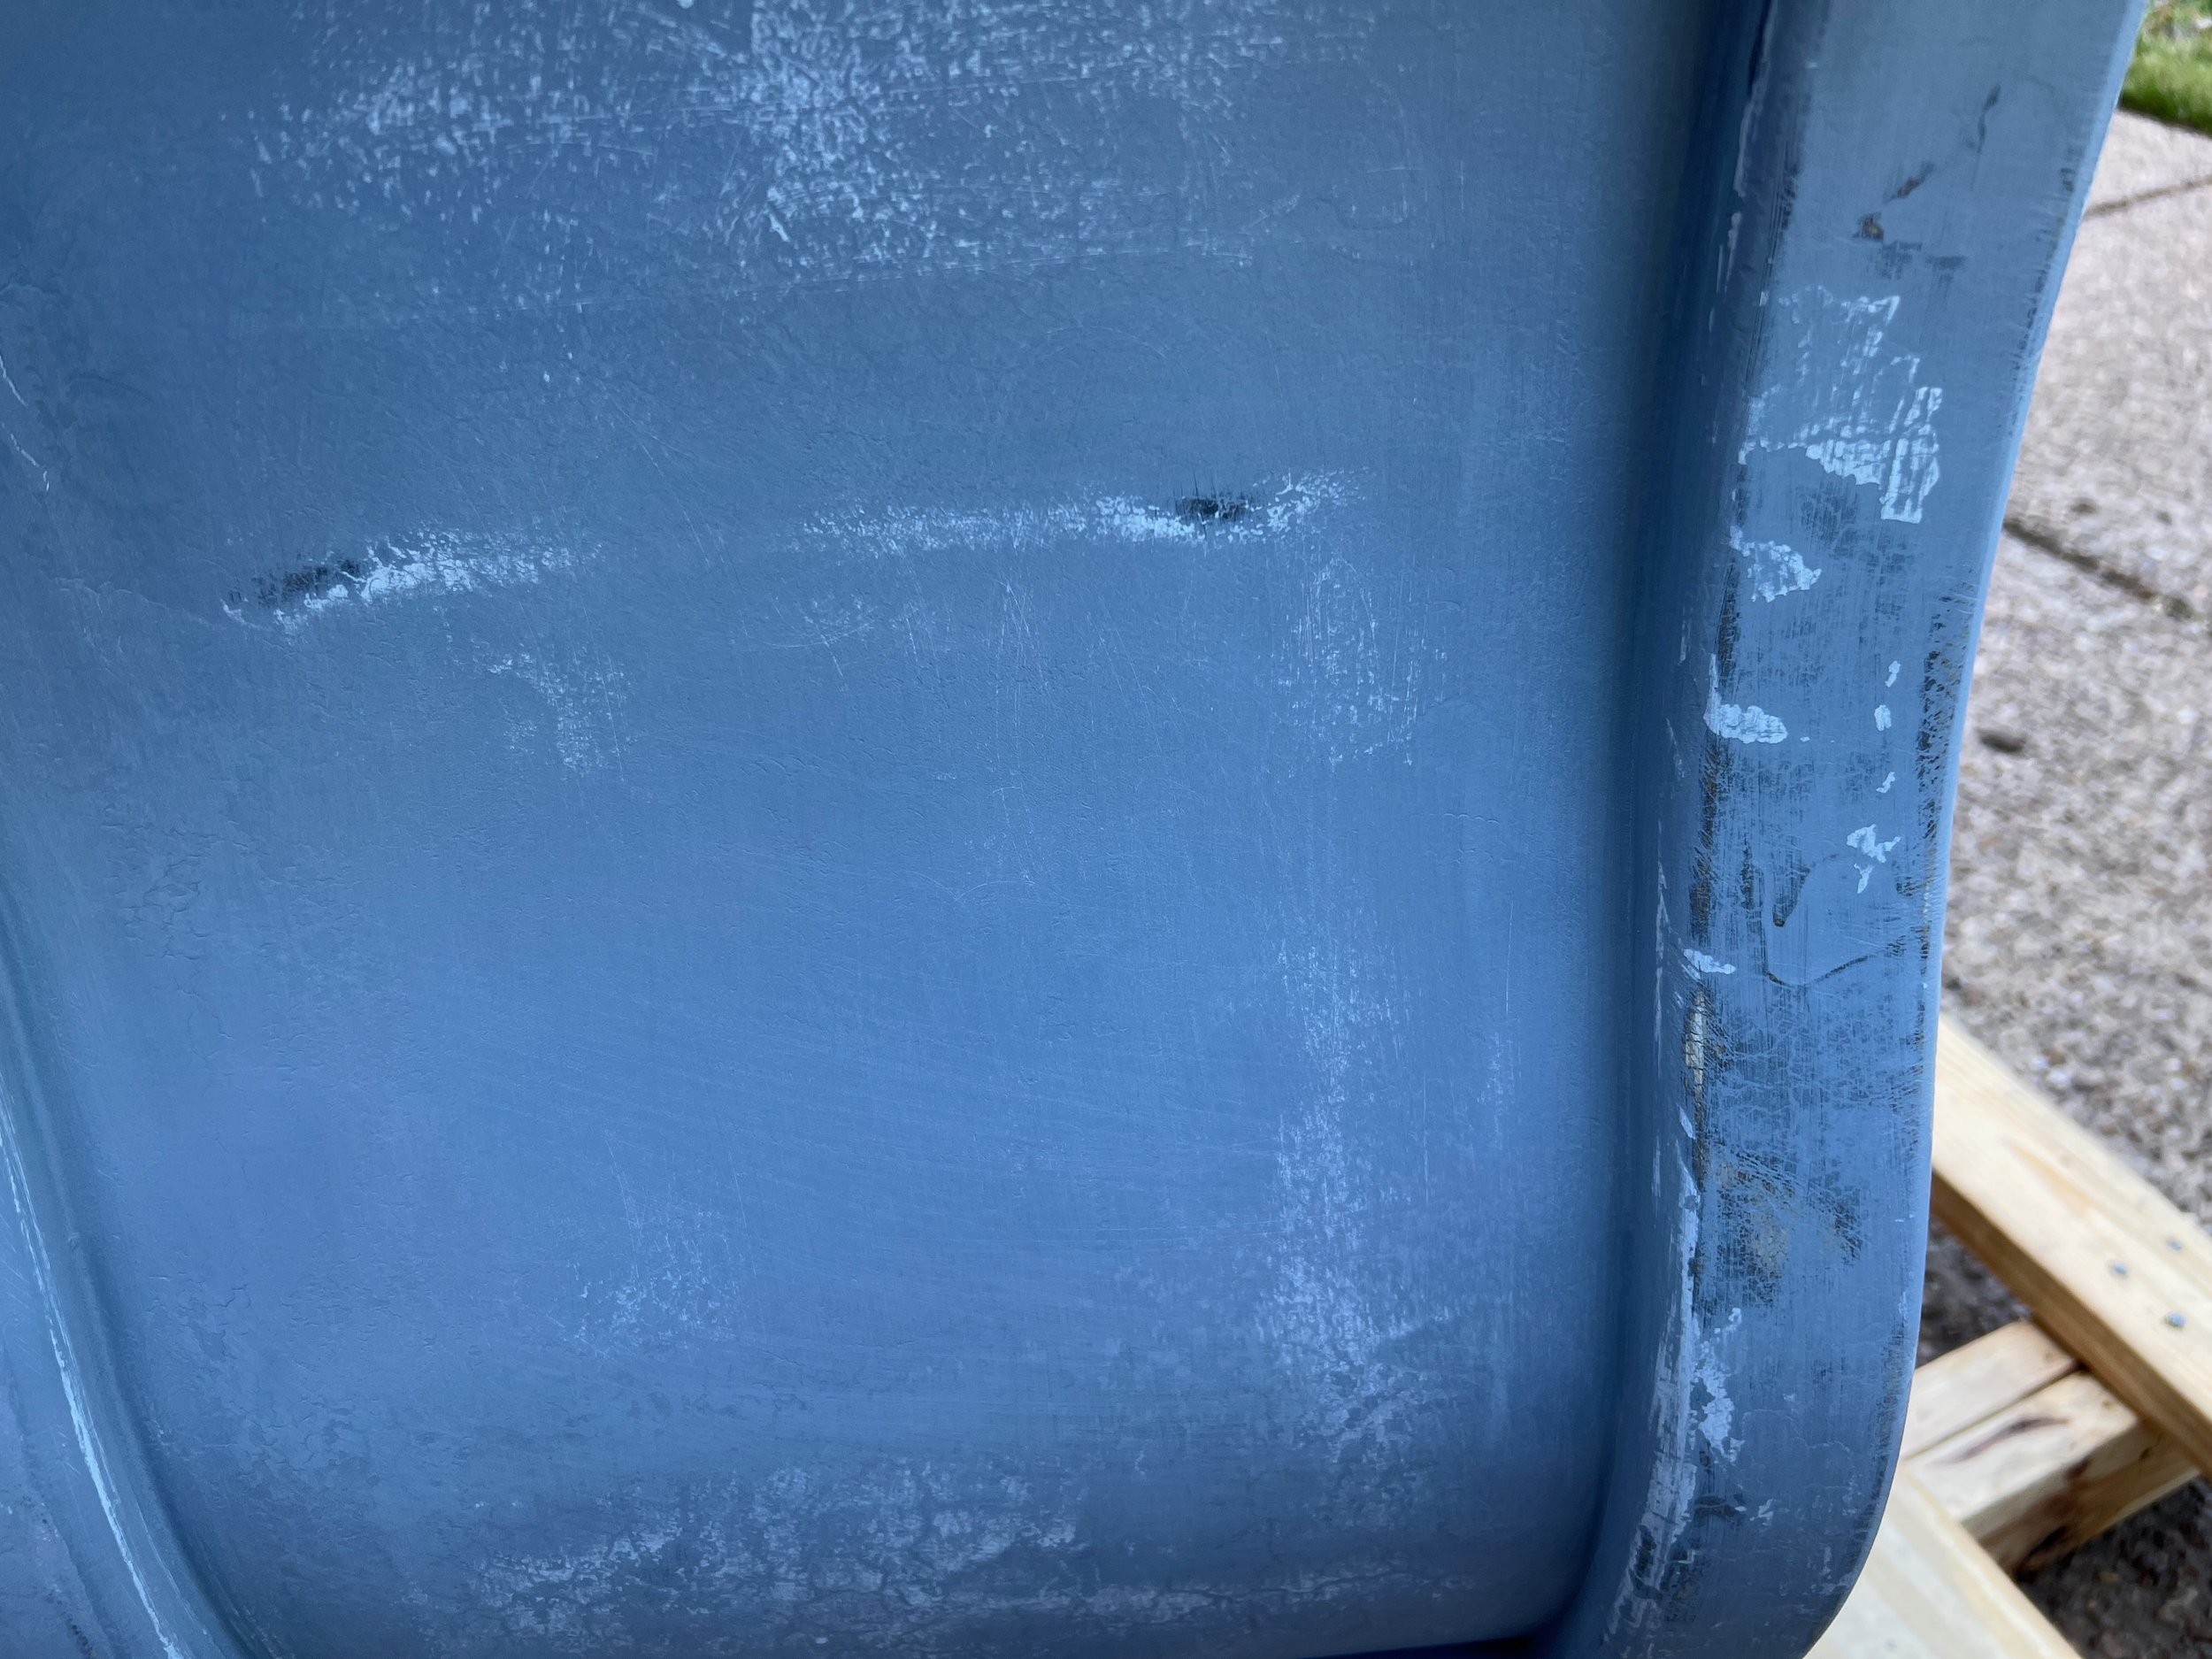
After sanding (120 grit) and then wet sanding at 220. I love the feel after wet sanding. Even at only 220 grit, it’s SUPER smooth! You can see in the background that I have plastic over the car - courtesy of a previous lesson ;)

Next up is modifying the top drawer so it’s usable, but still allows room for the plumbing. This does need to be a working sink after all.
Also - we’re still trying to decide what to do with the top. I’m leaning toward a walnut slab. I’ll think about it more. Let me know if you have any suggestions!